


Description
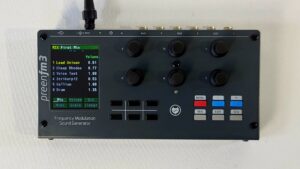
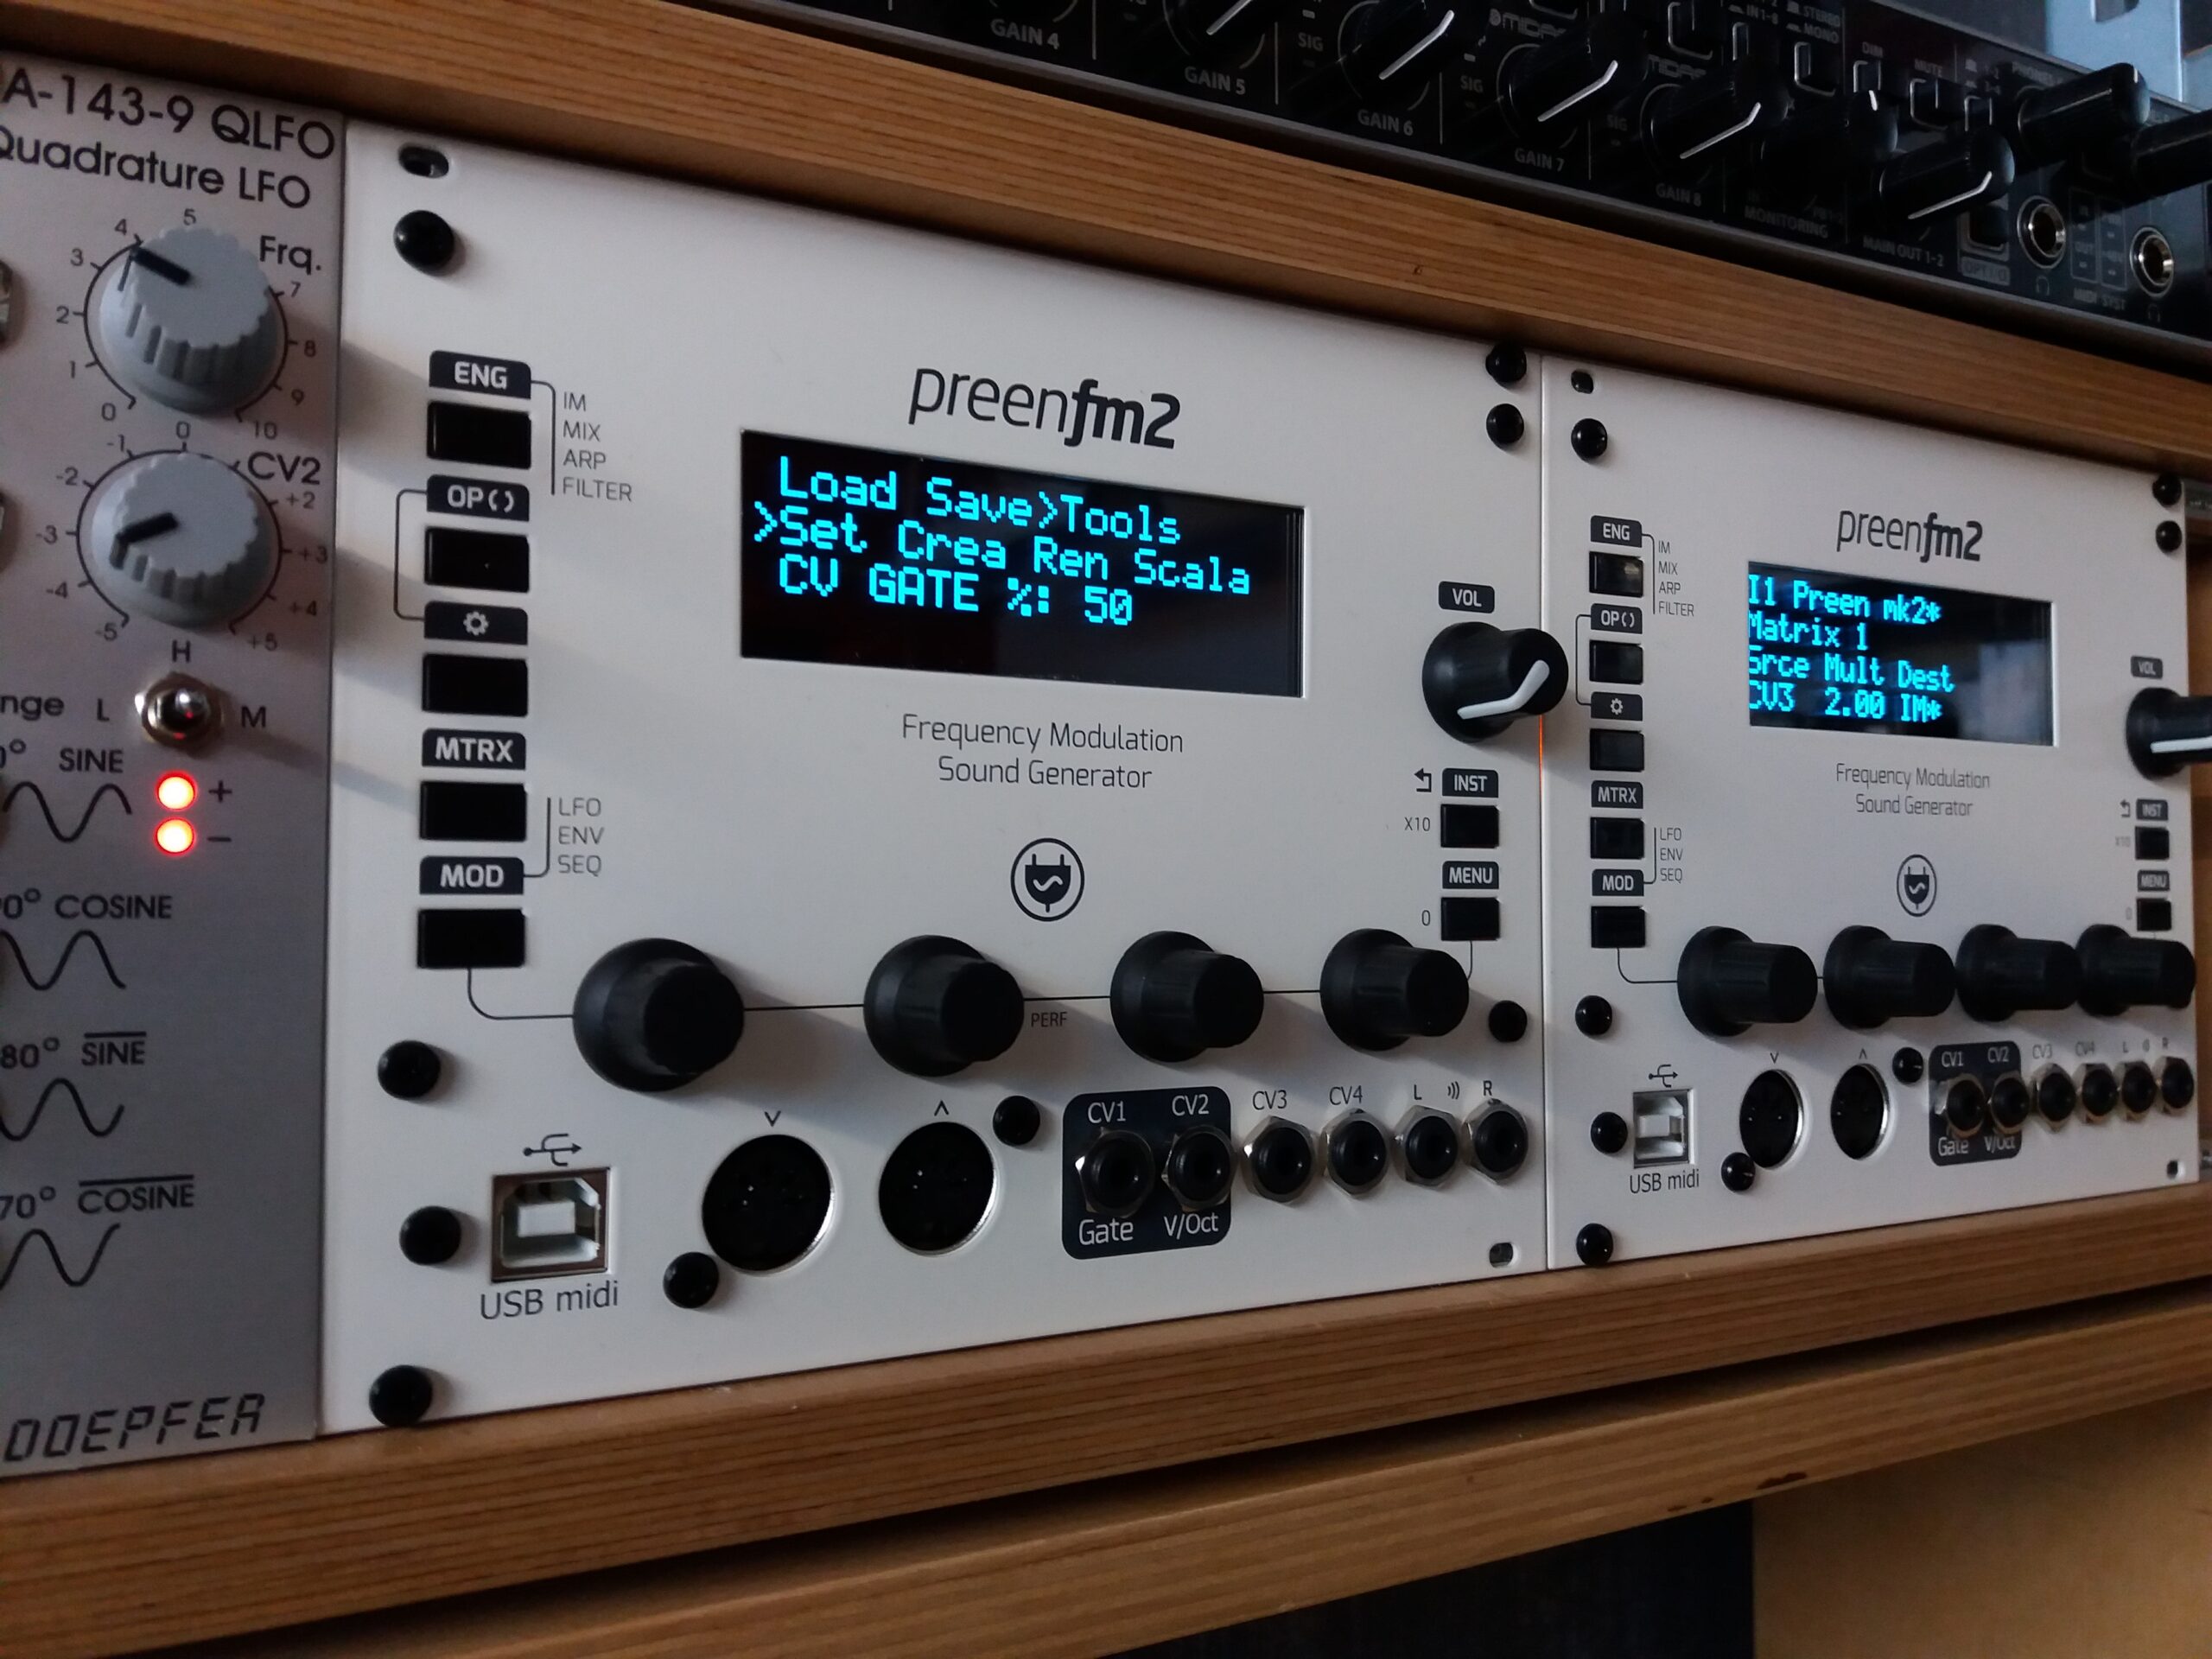
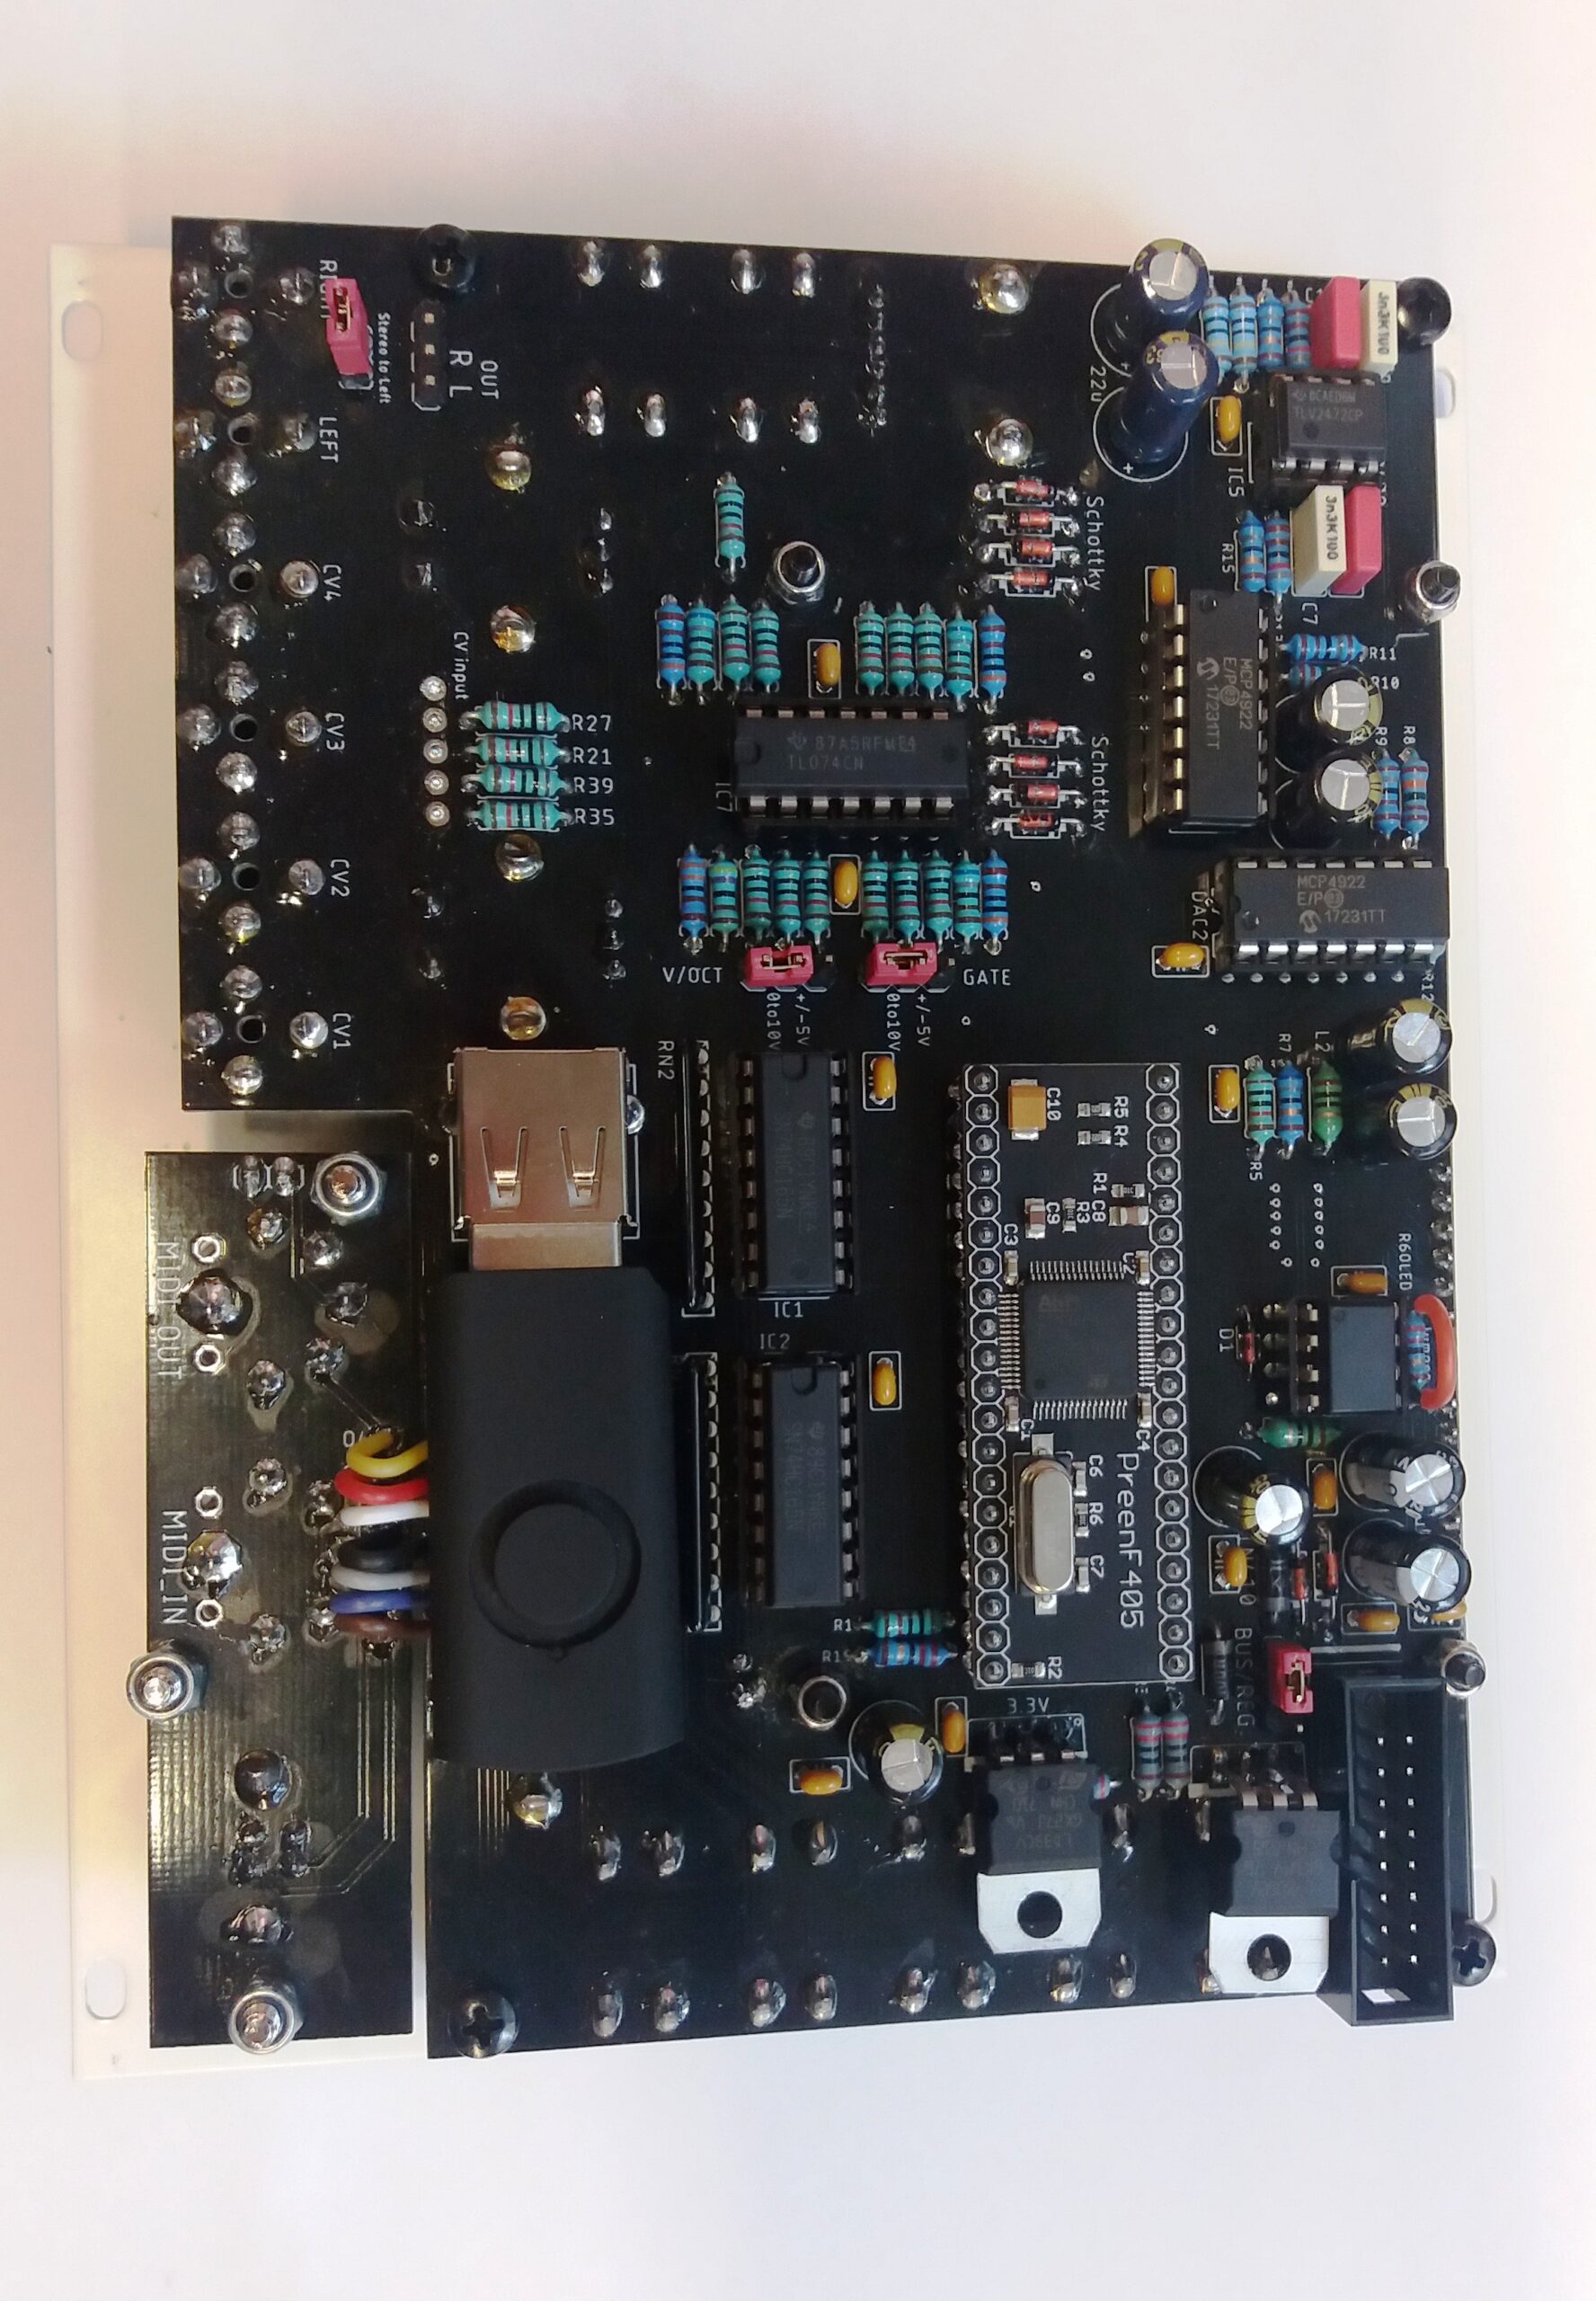
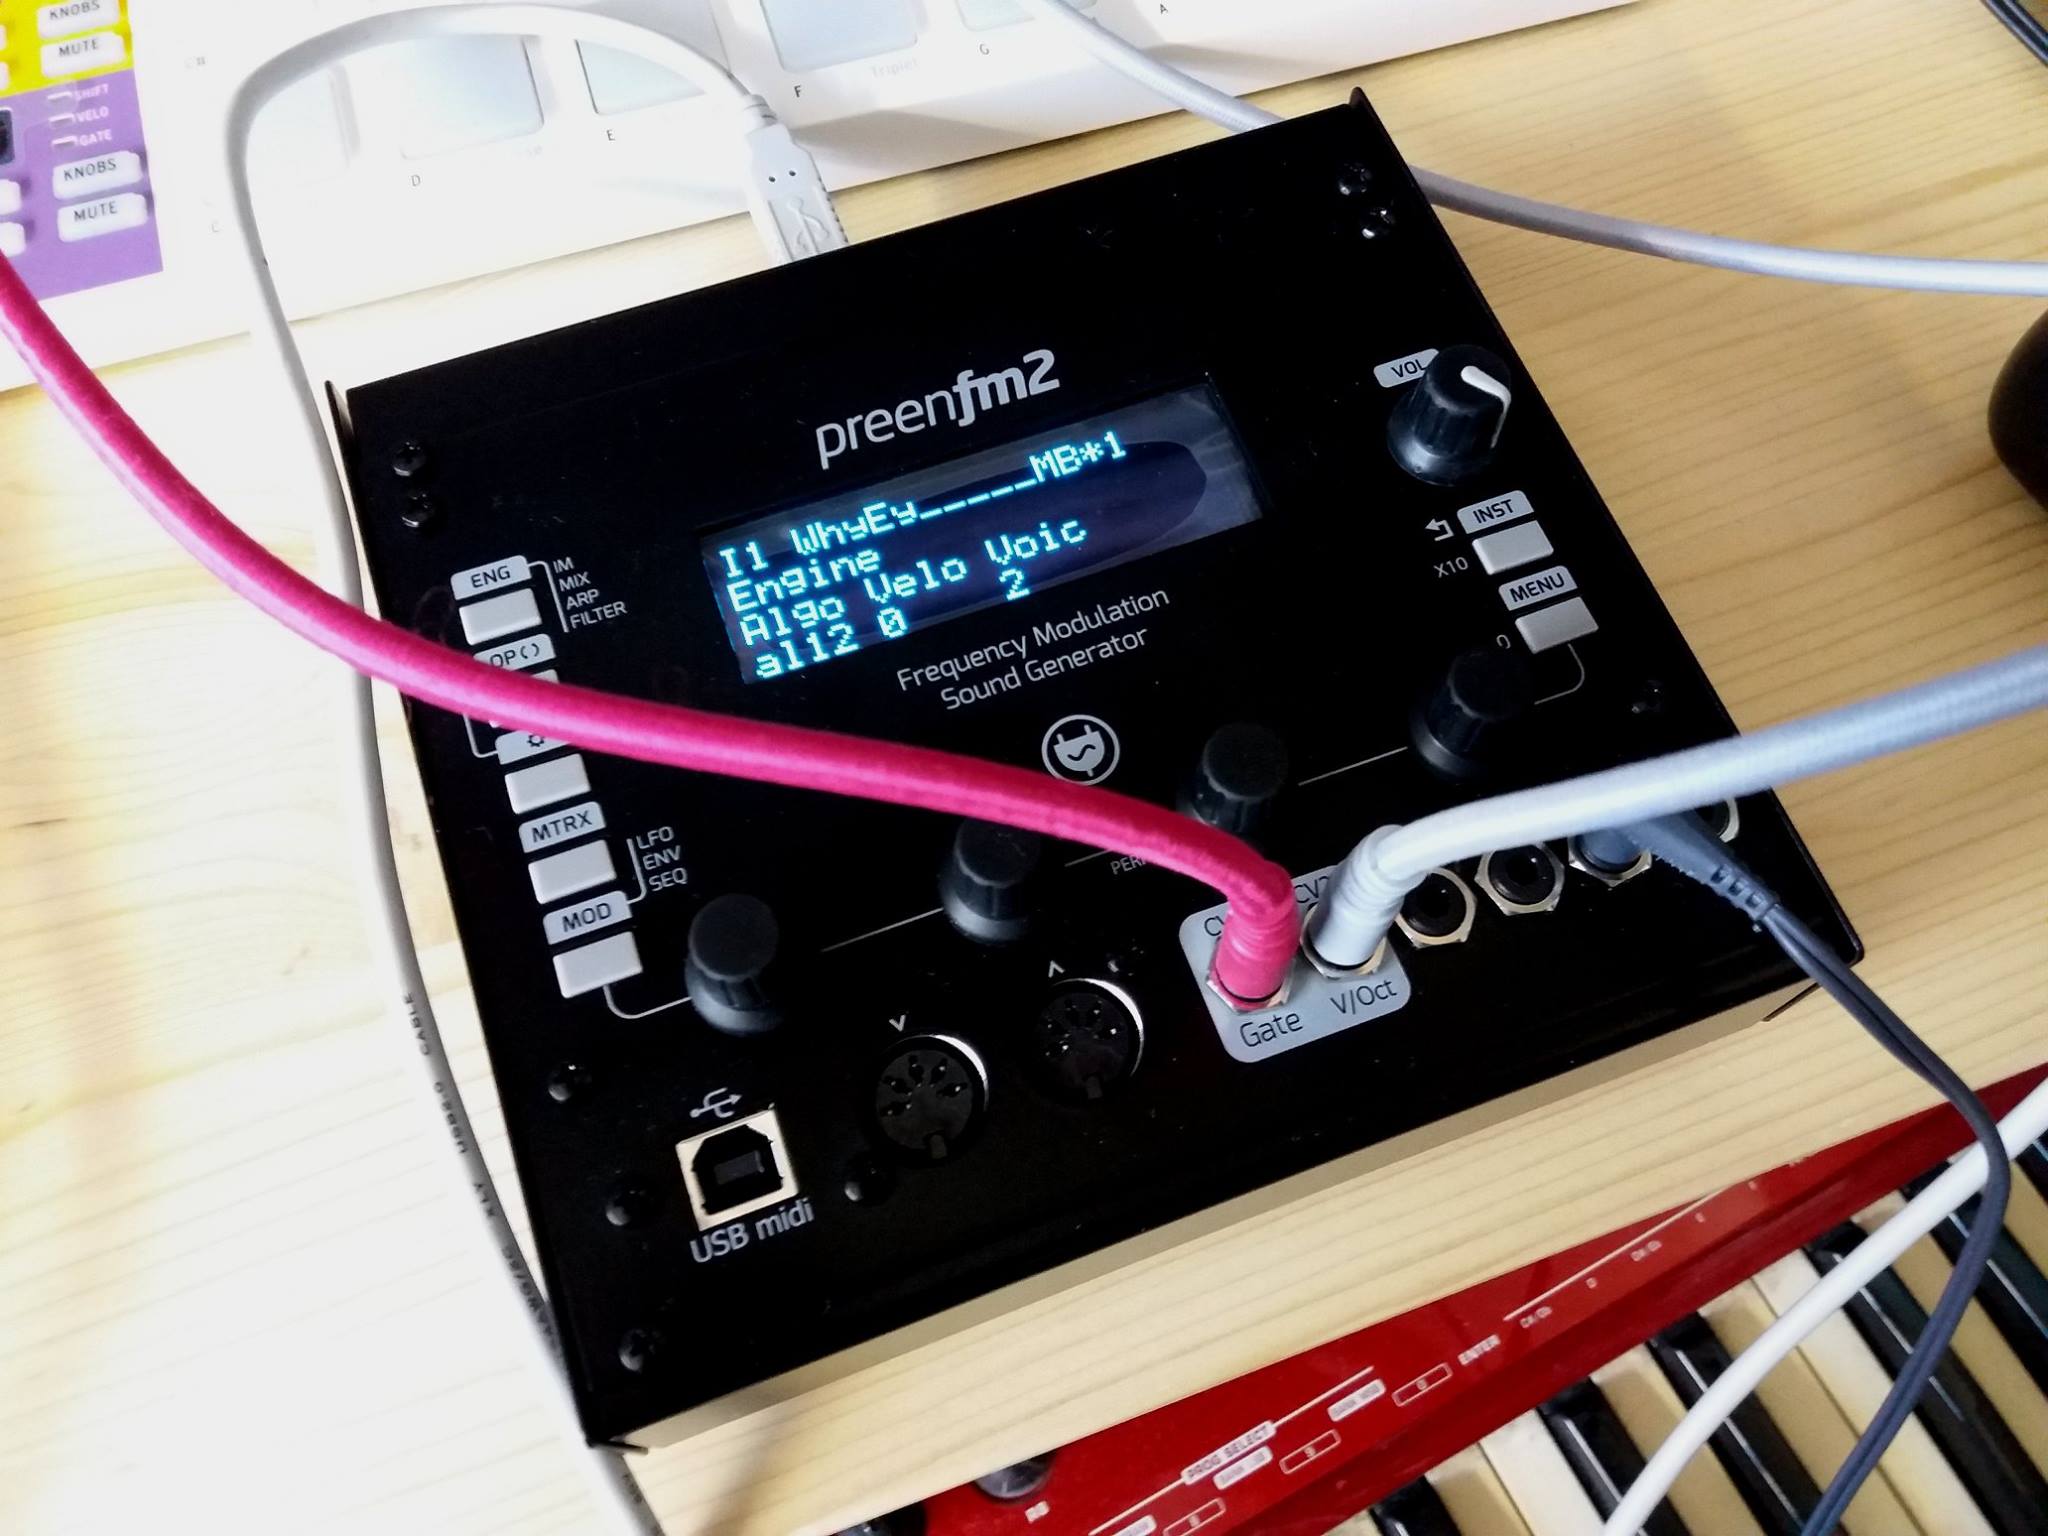
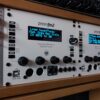
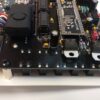
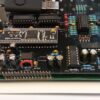
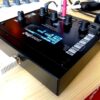
This is PreenFM 2 in Eurorack format with 4 CV inputs.
PreenFM has 2 outputs. They were initially line-level, but the signal is amped to eurorack levels. Volume knob controls the output.
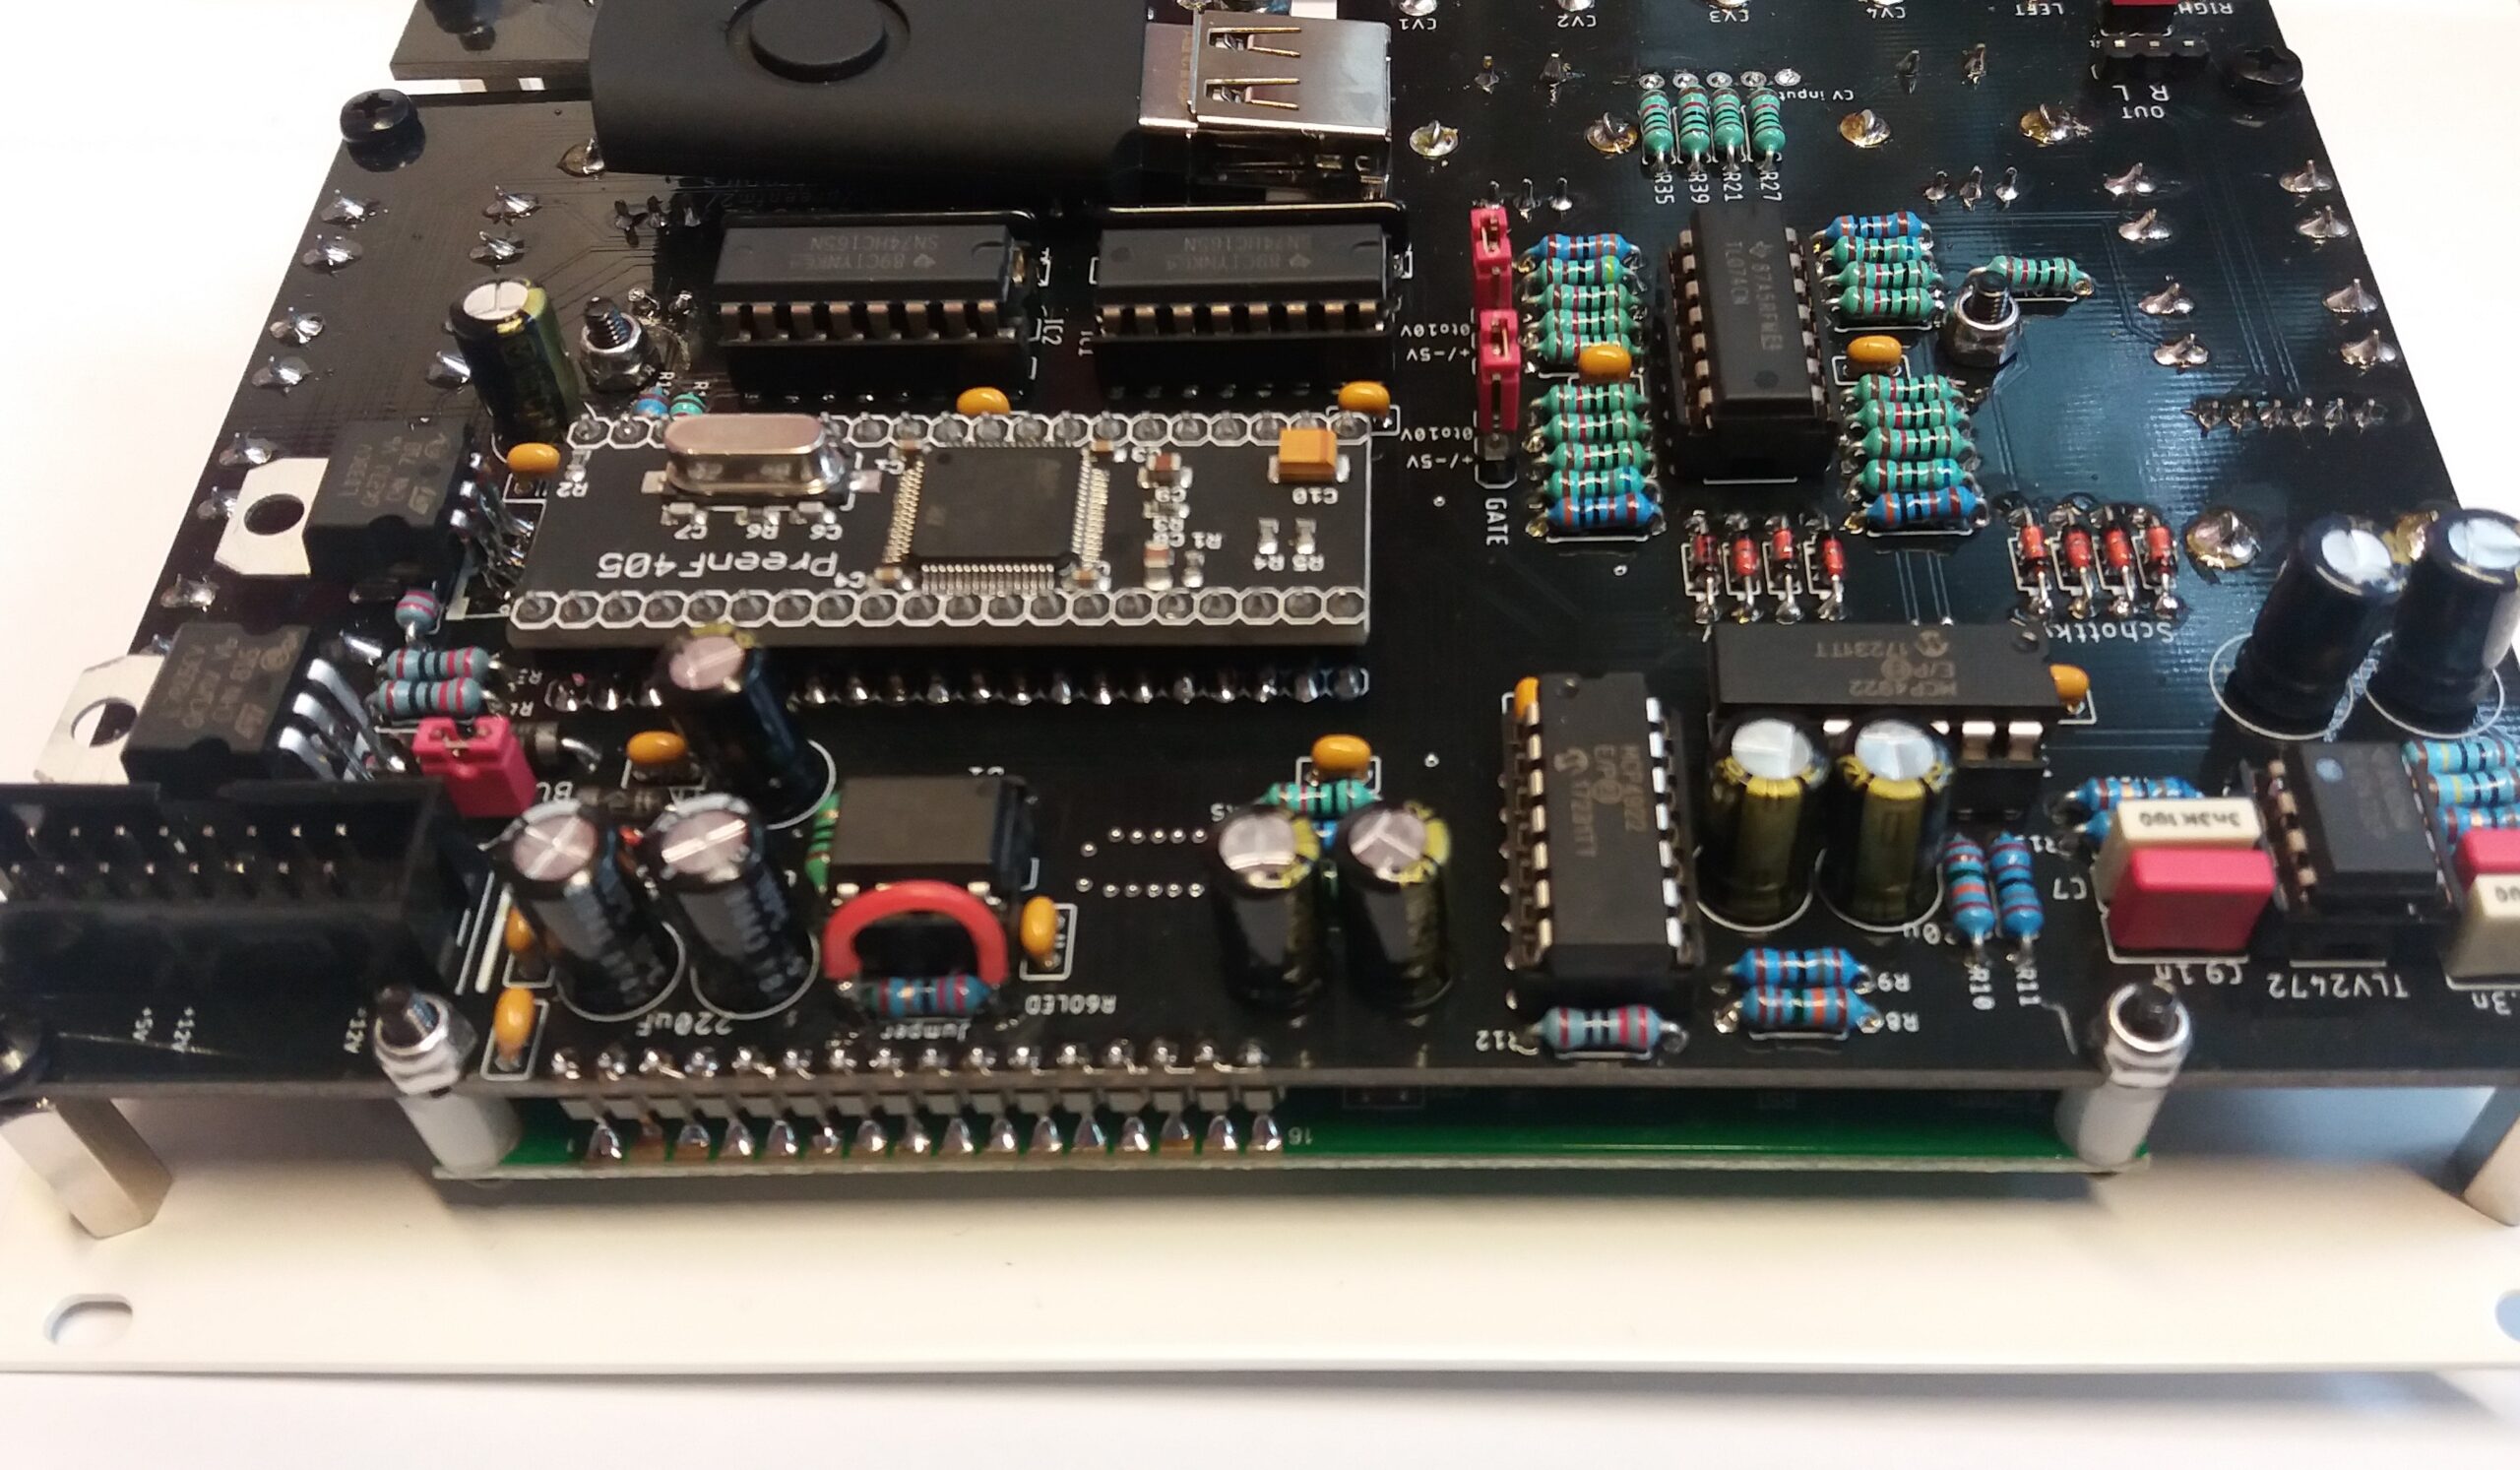
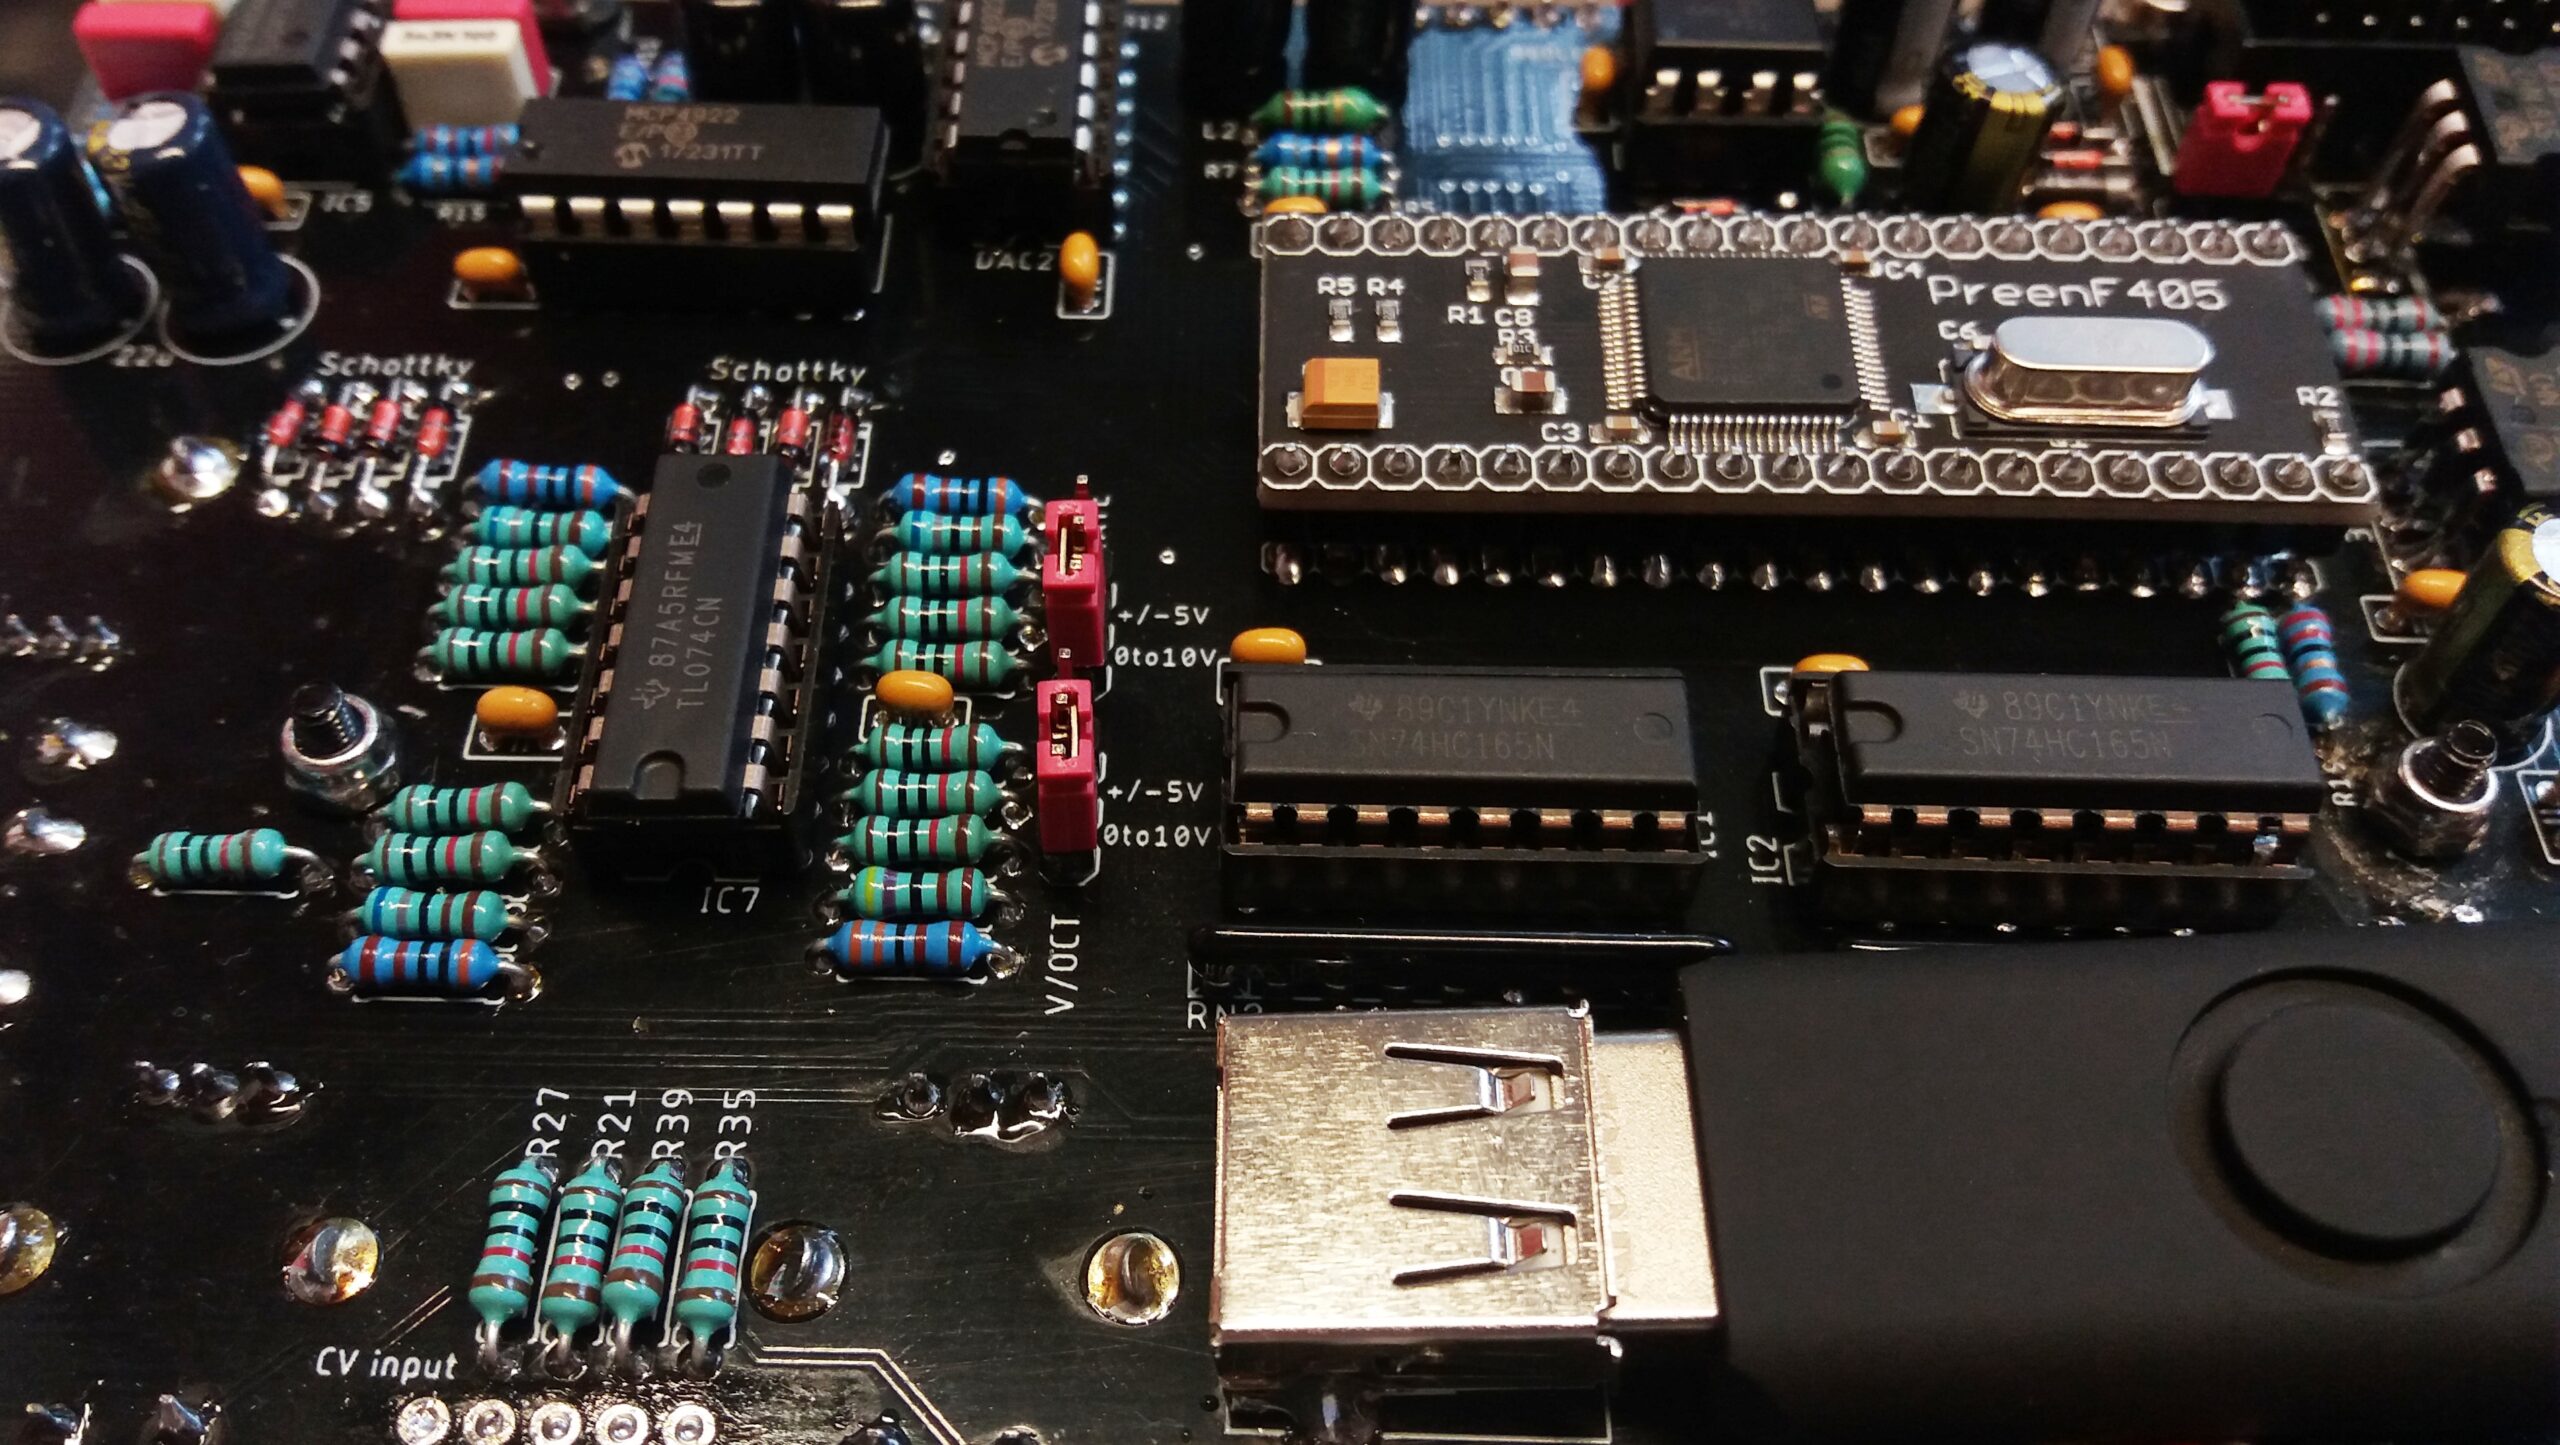
V/Oct, Gate, CV inputs.
Gate: Switchable: -5V to +5V or 0V to +10V
V/Oct: Switchable: -5V to +5V or 0-10V; 1V per Octave
Modulation:
CV3: -5V to 5V
CV4: -5V to 5V
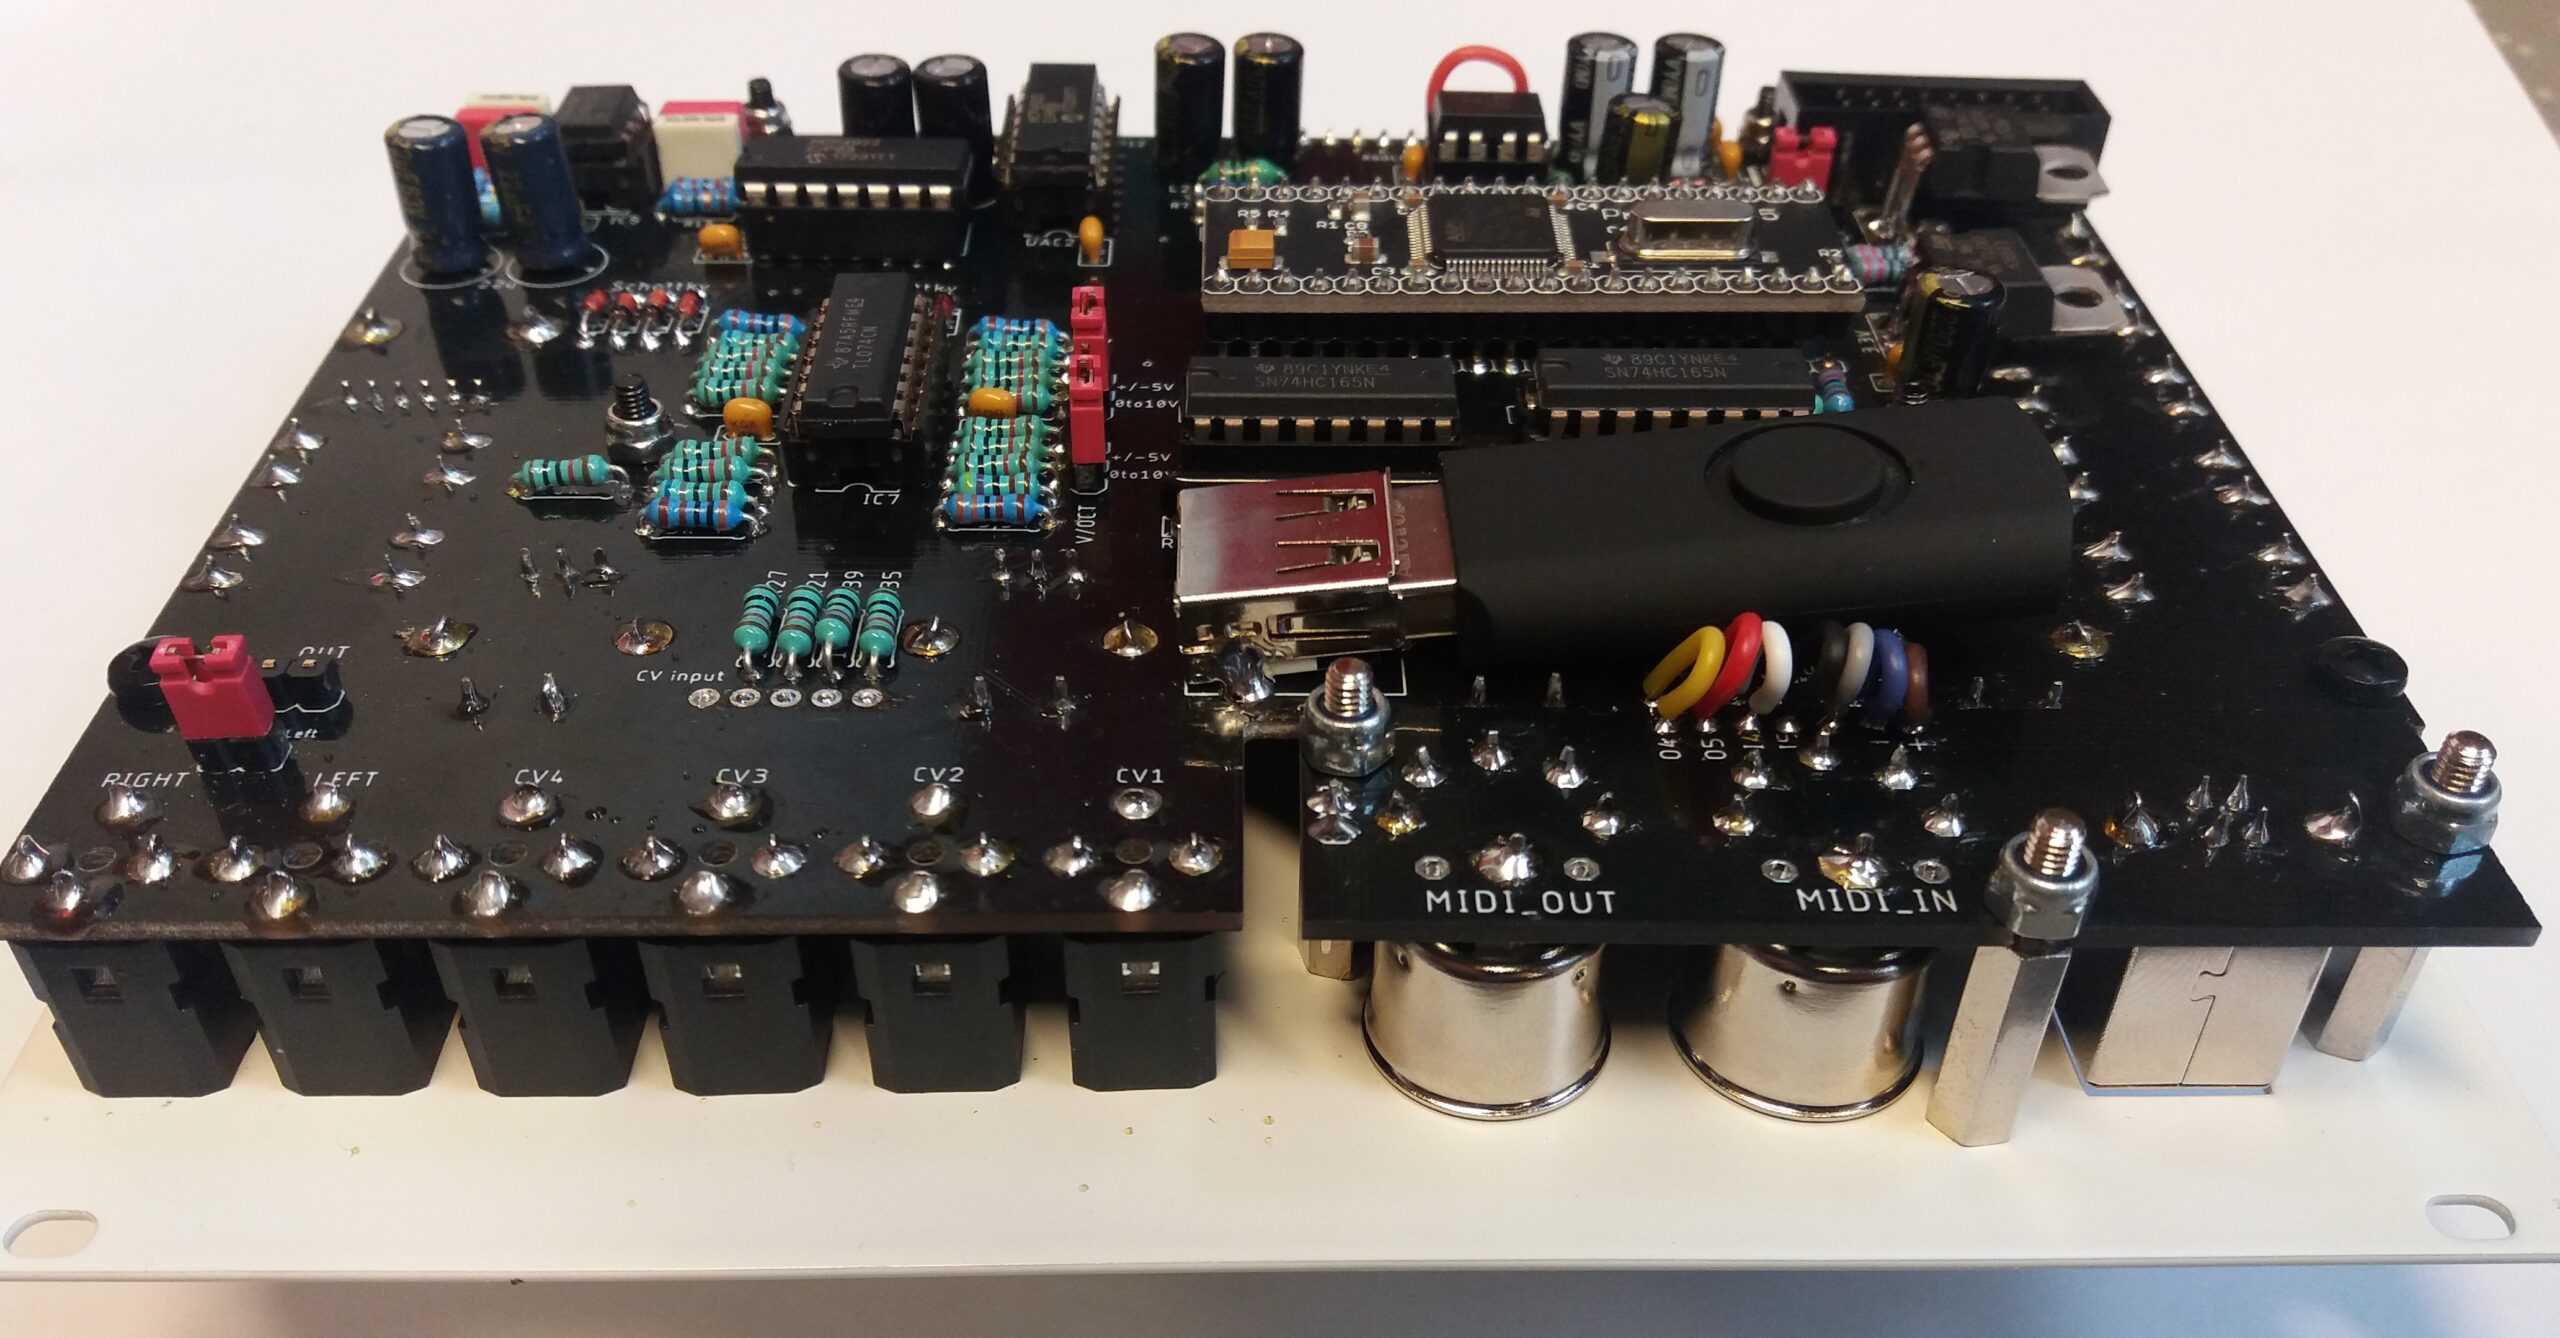
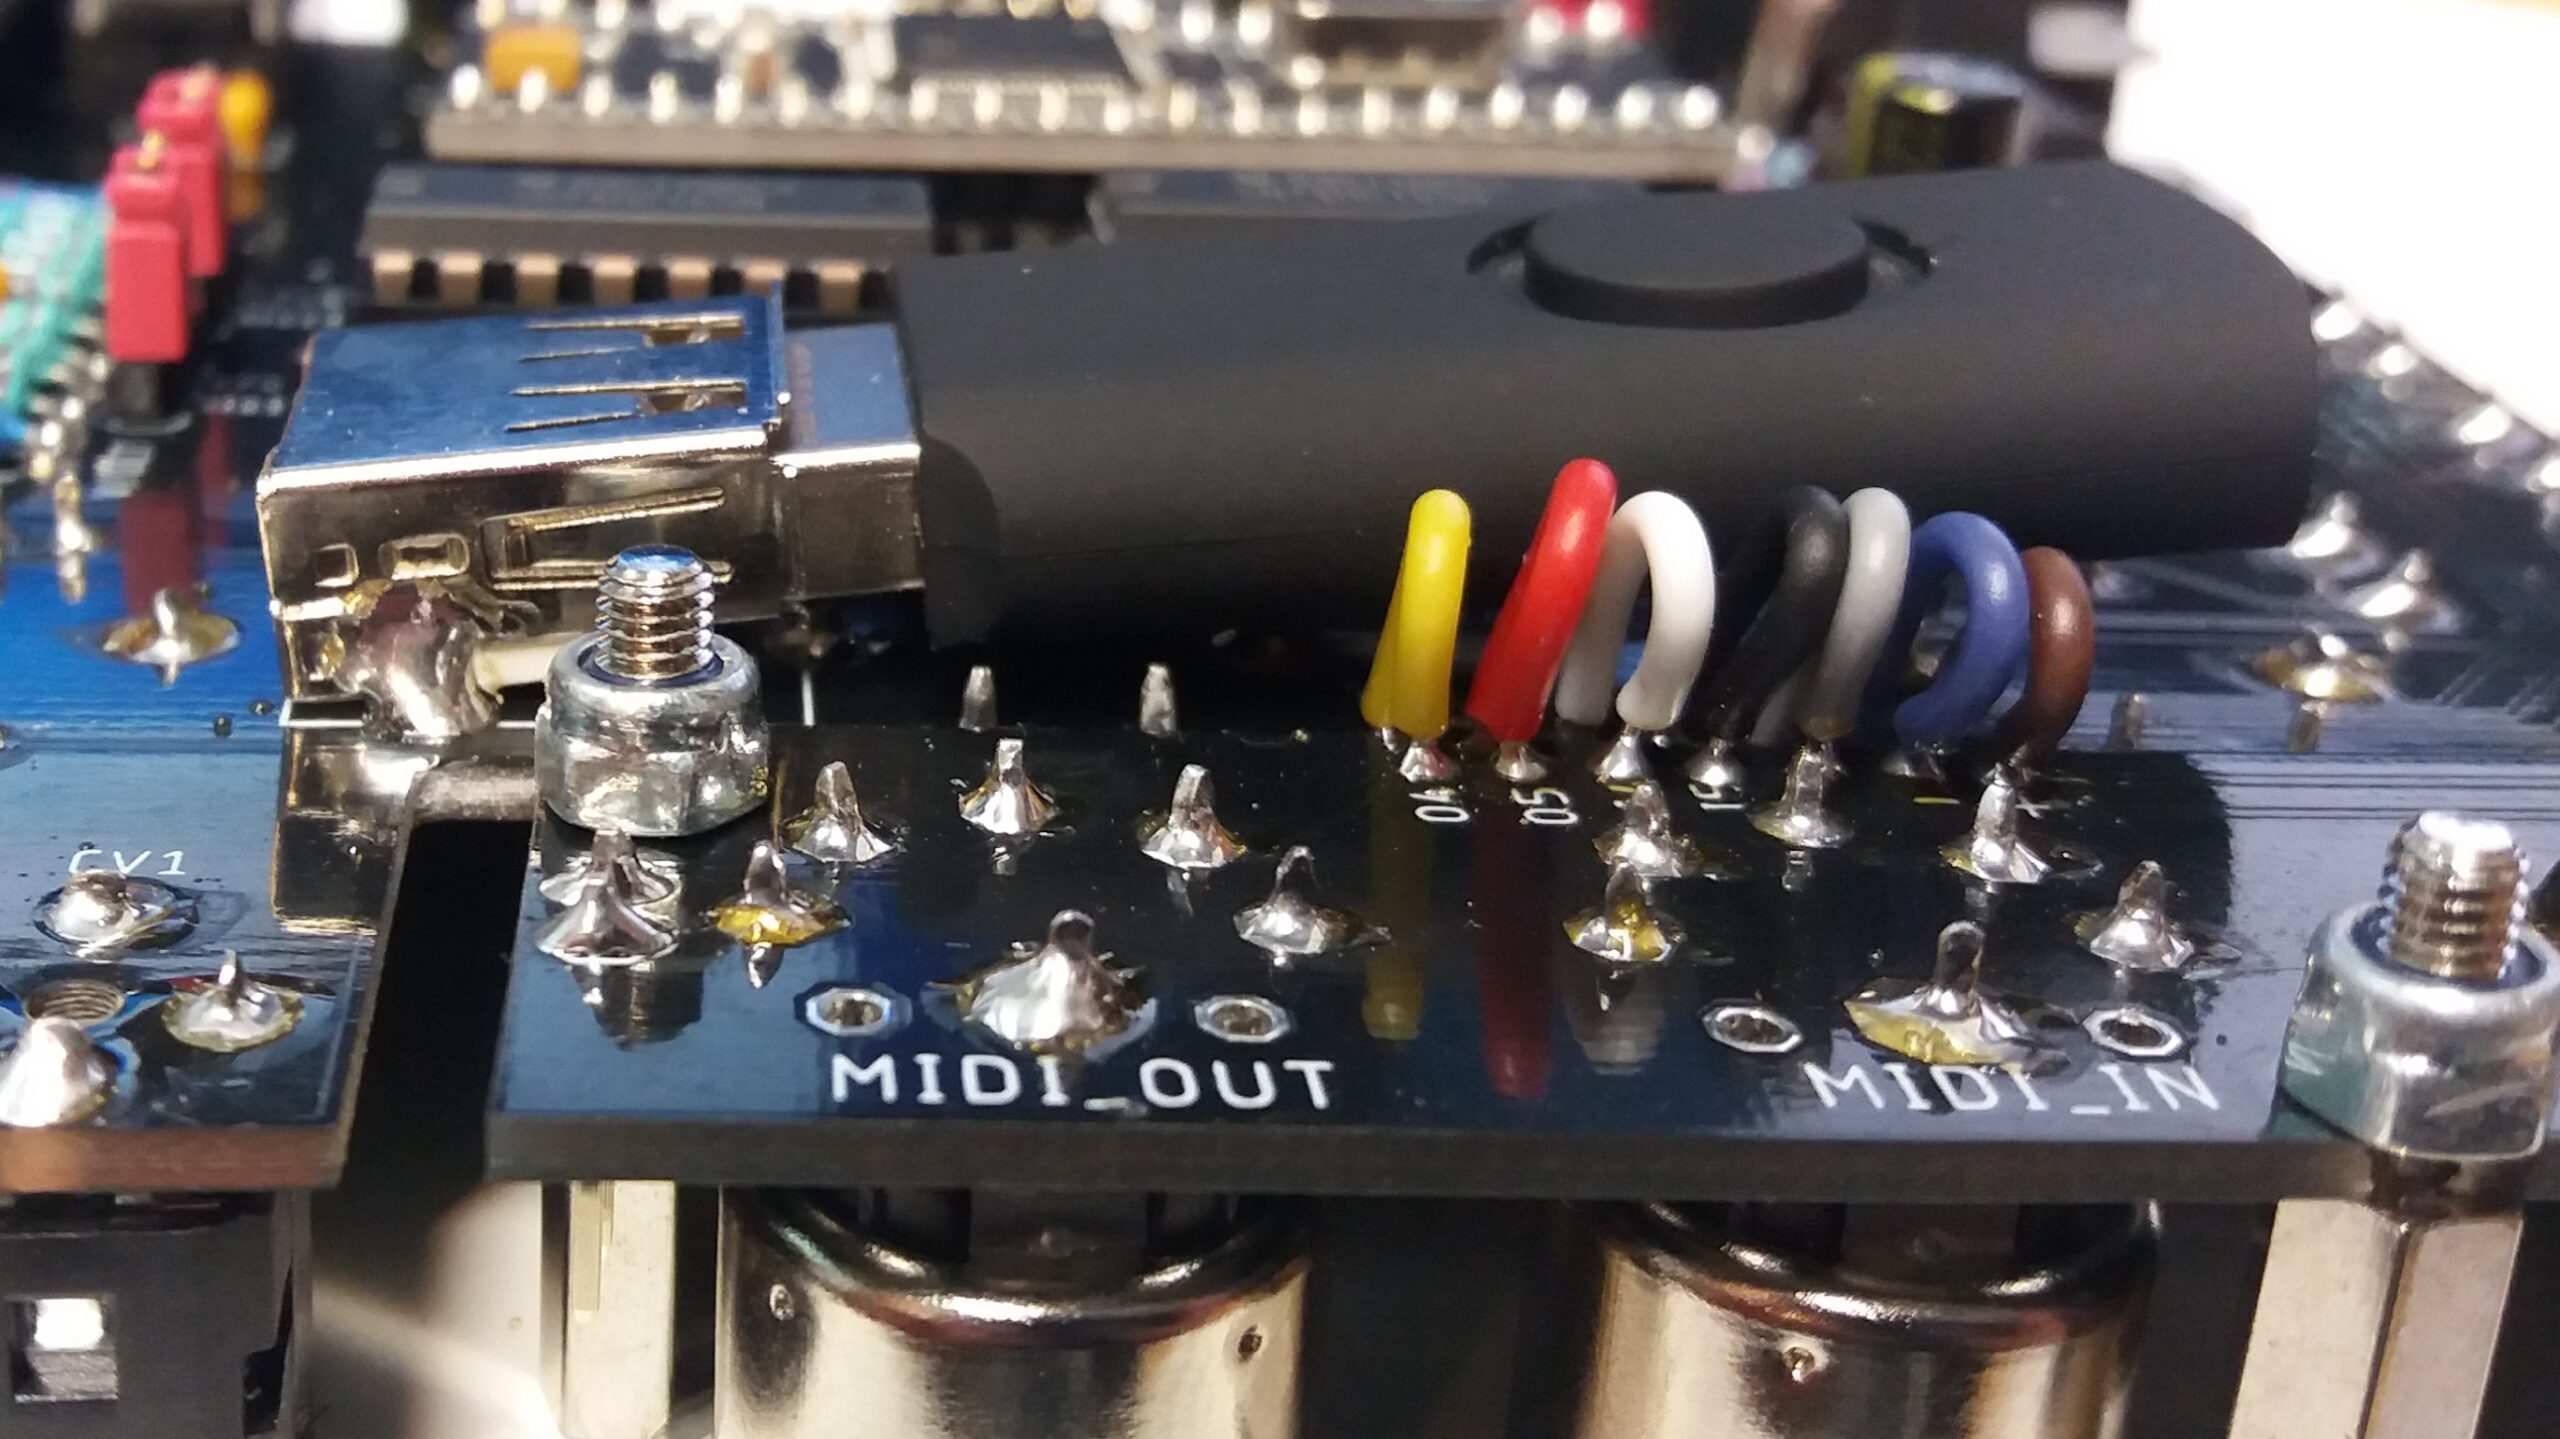
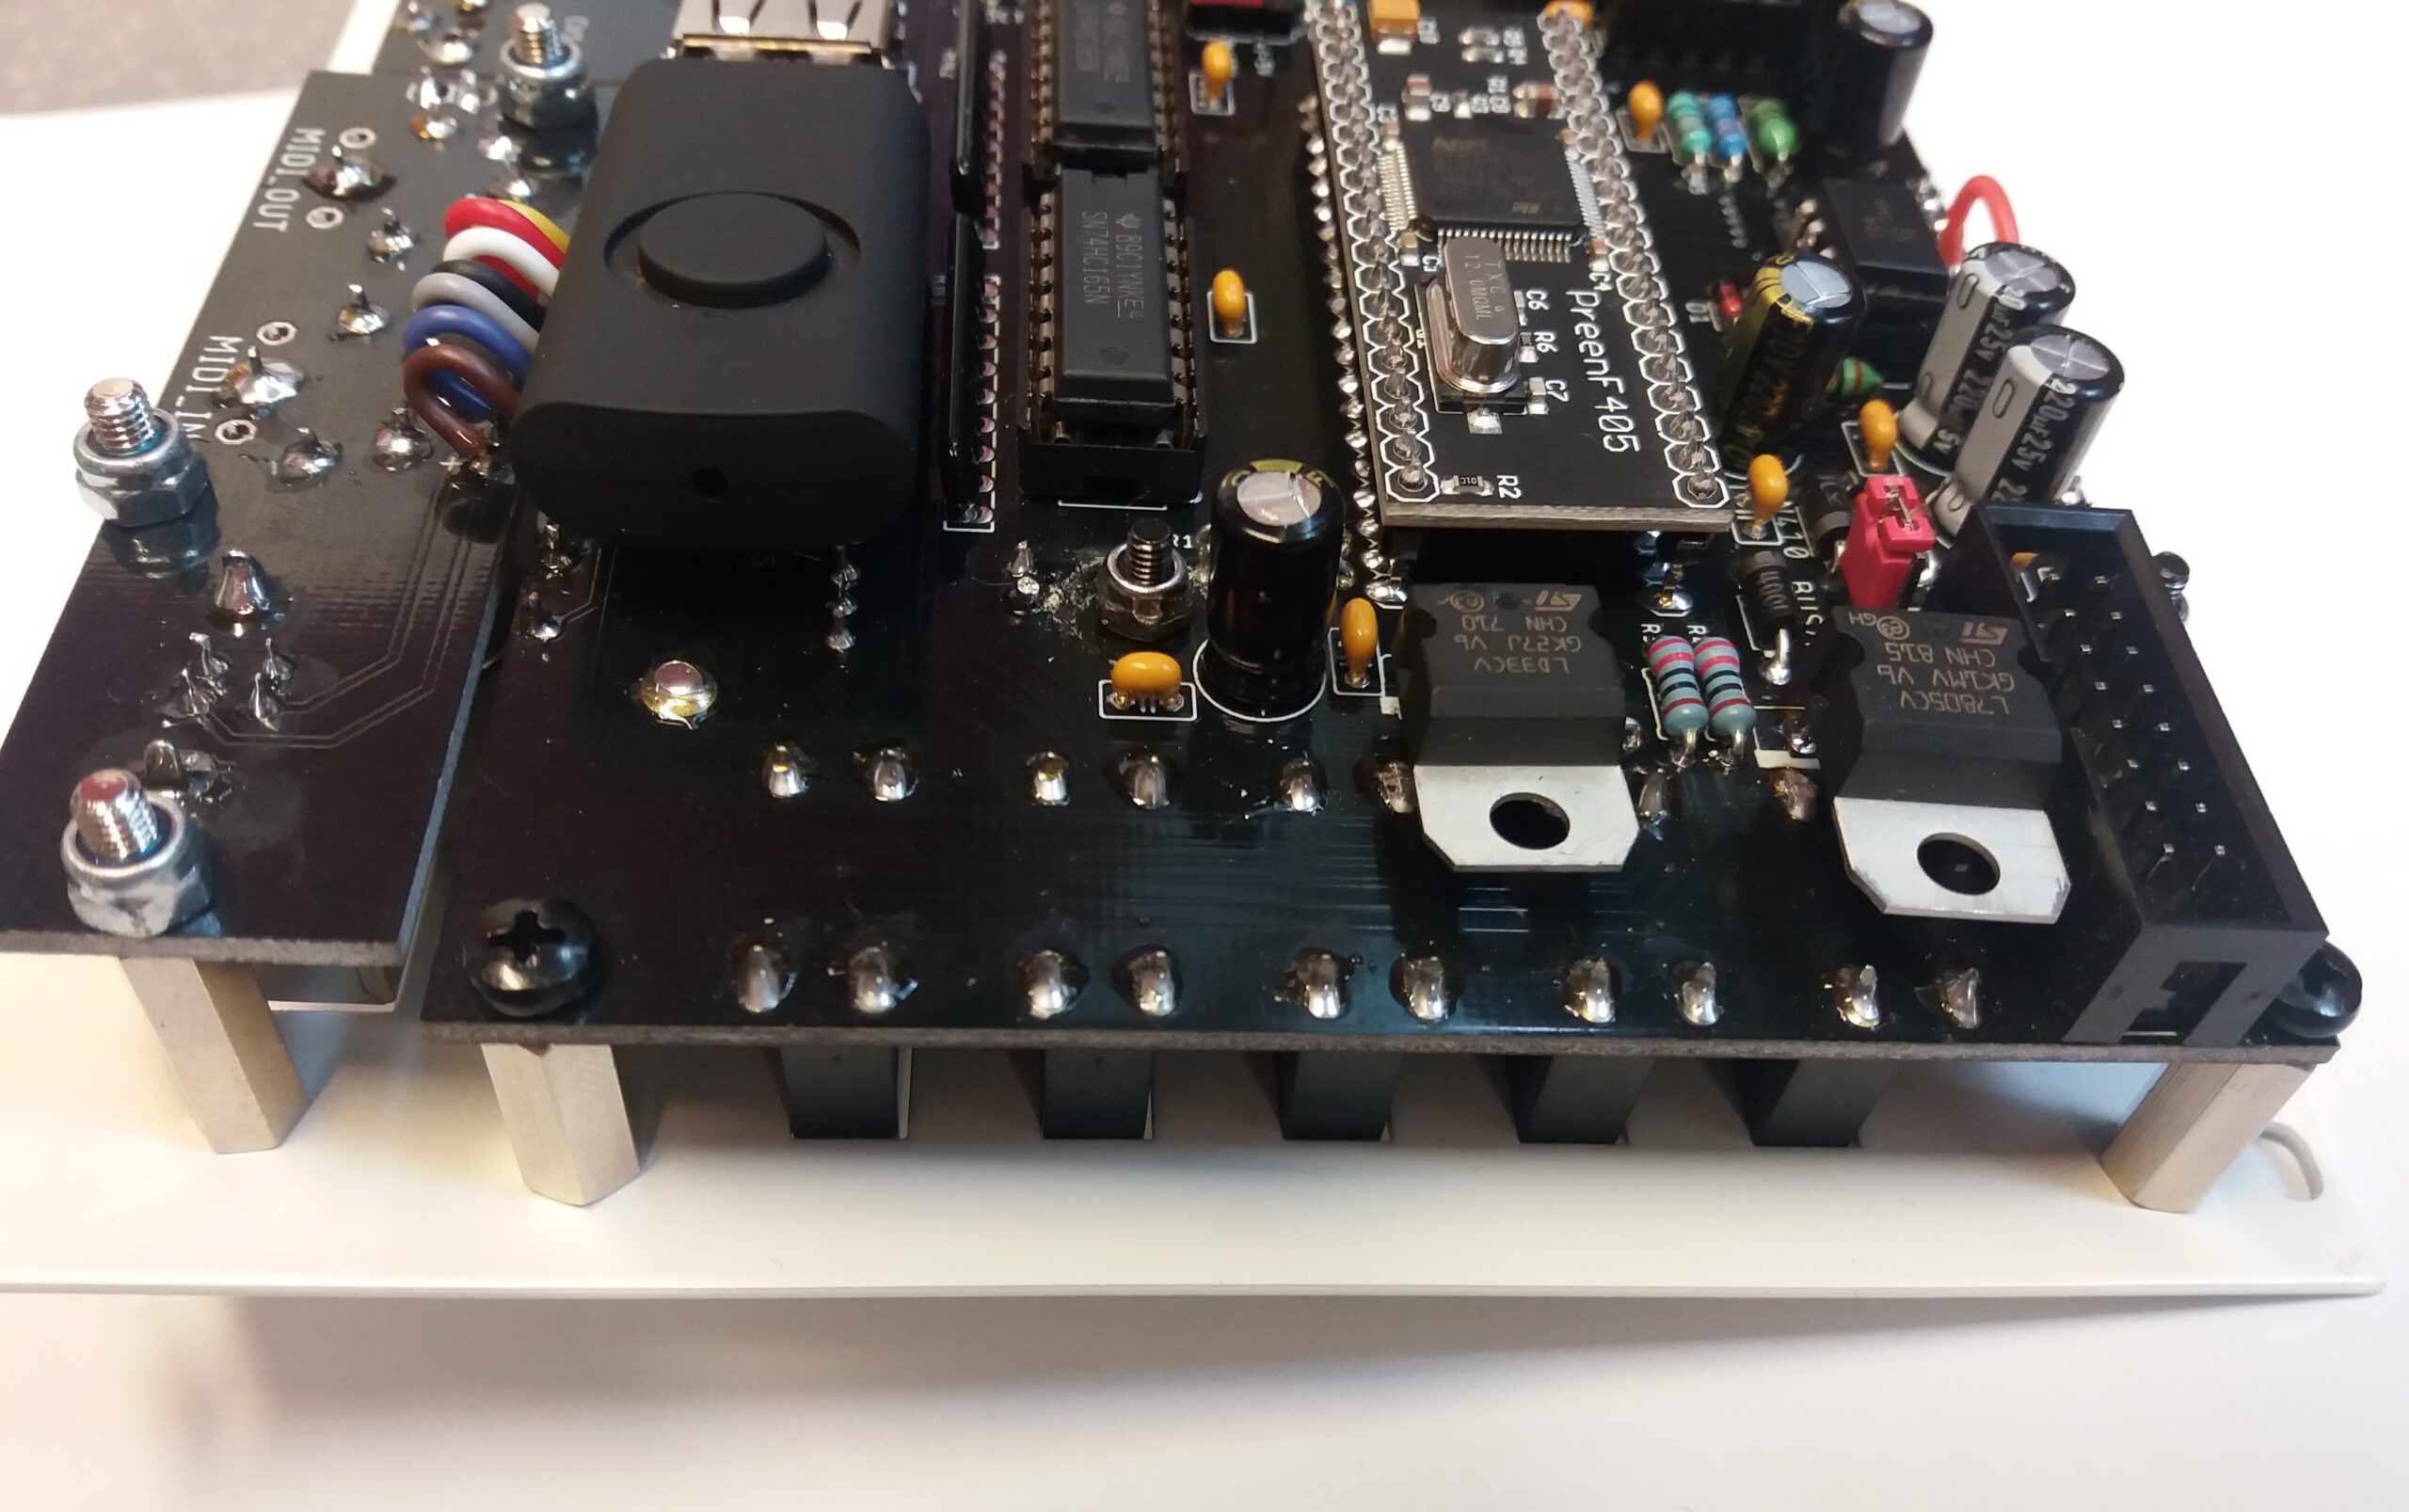
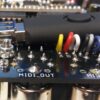
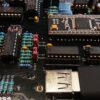
MIDI and USB Midi connectors.
CV1-4 inputs can be mapped to matrix parameters.
Options:
None;
Gate;
IM1; IM2; IM3; IM4; IM*
Mix1; Pan1; Mix2; Pan2; Mix3; Pan3; Mix4; Pan4; Mix*; Pan*;
o1Fq; o2Fq; o3Fq; o4Fq; o5Fq; o6Fq; o*Fq; o*Fh
Att1; Att2; Att3; Att4; Att5; Att6; AttC; AttM;
DecC; DecM; RelC; RelM
mx01; mx02; mx03; mx04
l1Fq; l2Fq; l3Fq;
e2si; s1ga; s2ga;
Fltr
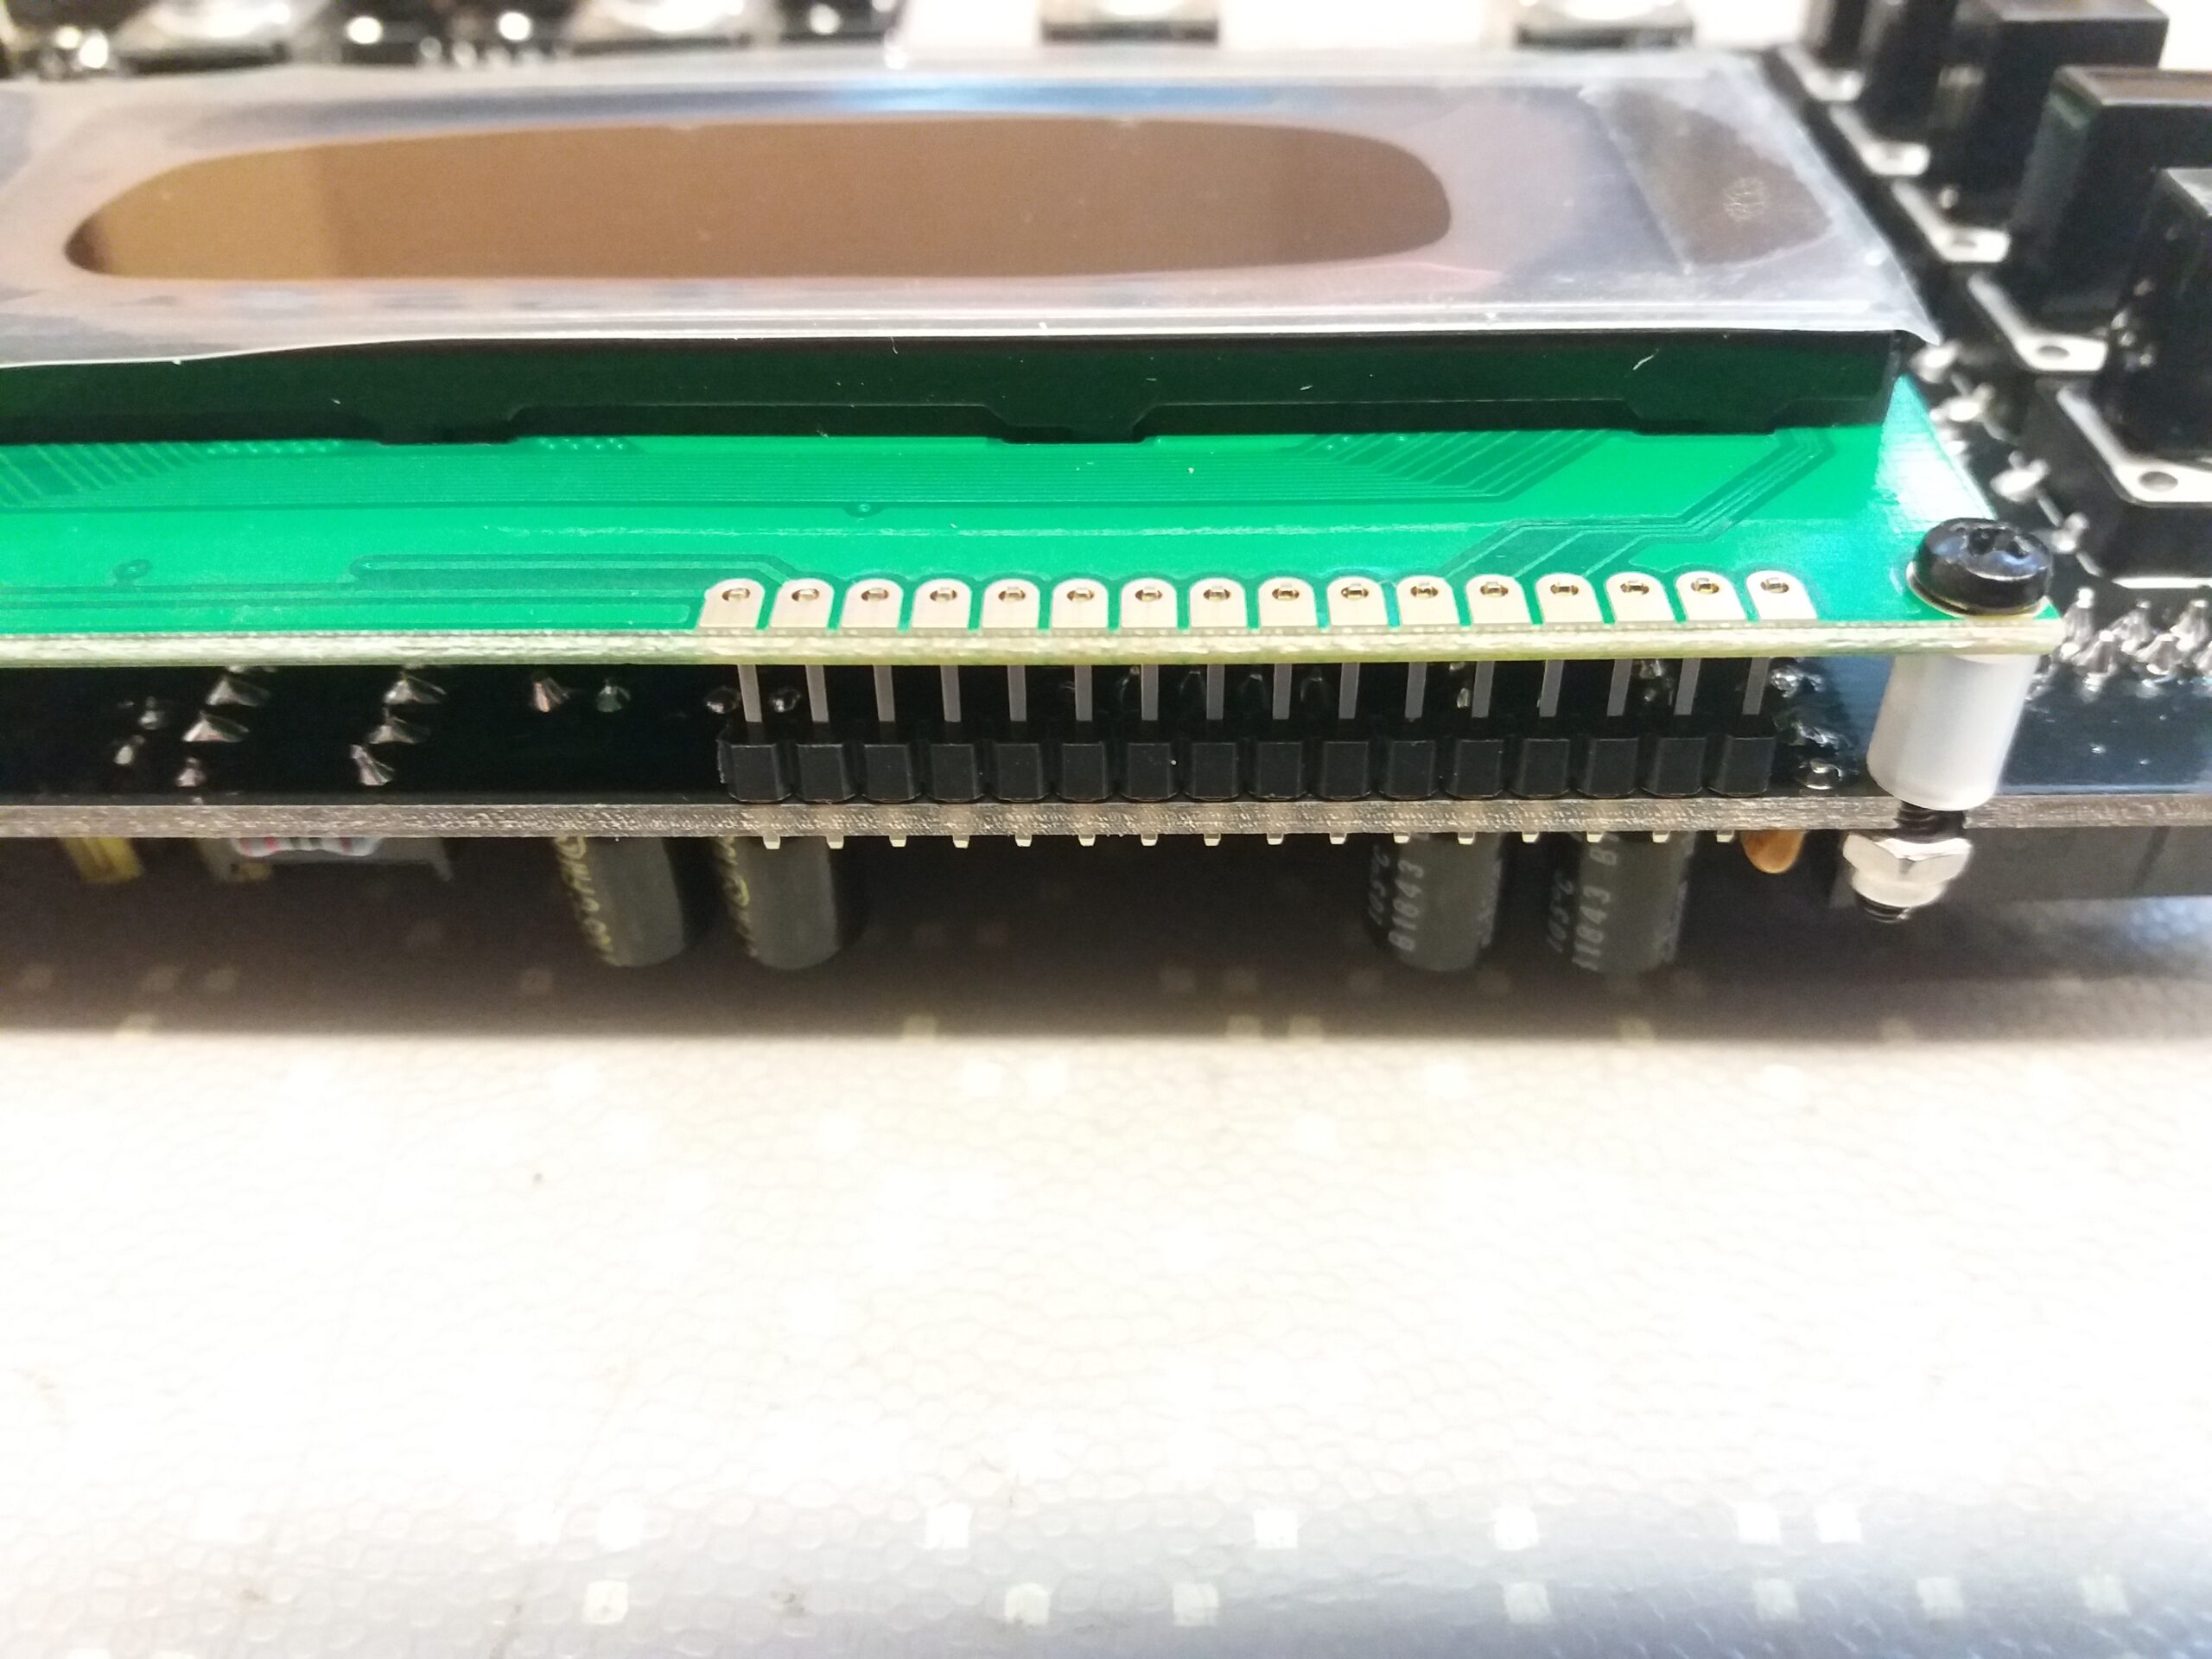
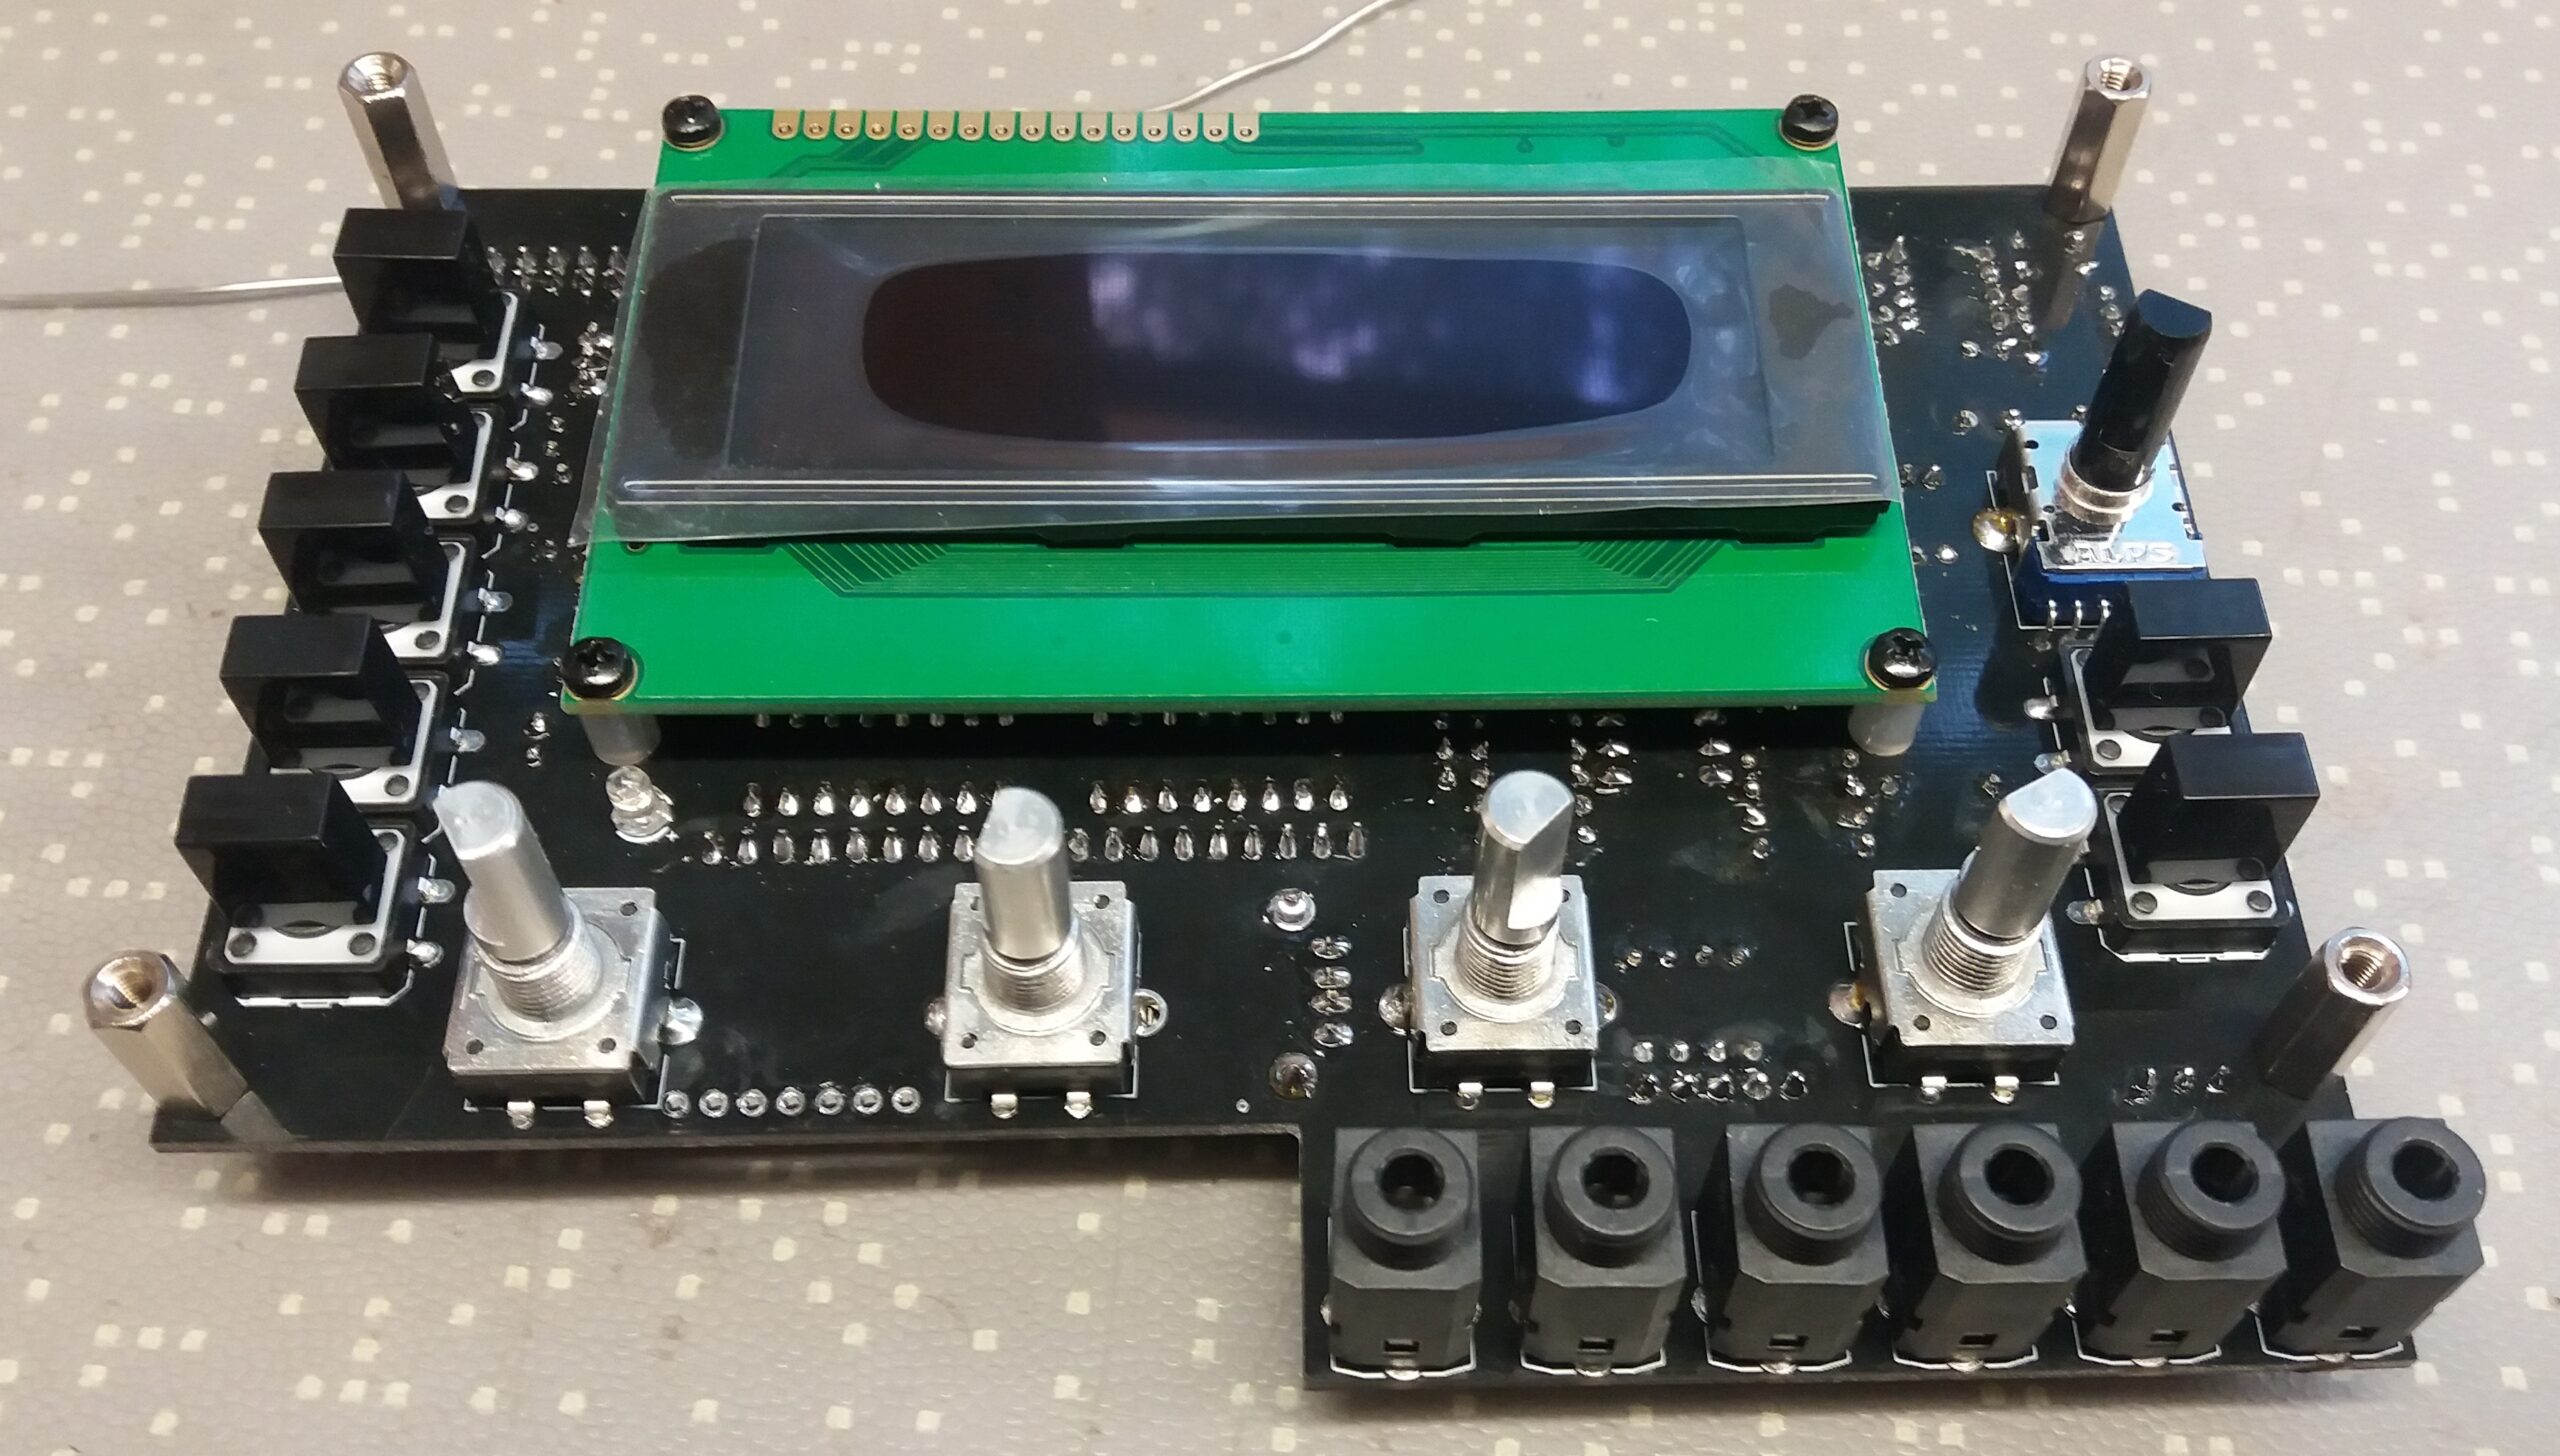
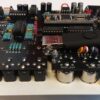
31HP in width. 32mm in depth.
Power consumption:
-12VDC 20mA
+12VDC 20mA
+5V 250mA
Unit can also regulate its own +5V from +12V bus if needed. (jumper)
Power Consumption with onboard 5V regulator:
+12VDC 300mA
-12VDC 20mA
V/Octave calibration:
Menu > Tools > Set > to adjust v/oct (first 3 encoders change the parameter, last 4th encoder changes the value)
You need to adjust CV A(33) (midi note 33) and adjust CV A(81) (midi note 81).
This will scale the V/Oct with out the need to adjust each octave one by one.
Example values are: CV A(33) 256 and CV A(81) 735. Each unit has its own values and depend on your voltage generator settings.
Gate trigger level adjustment. From 0% to 100% adjustment to allow user to use GATE input also as a regular CV input.
Now available with 2.09 firmware, also Overclocked.
The firmware made by Xavier Hosxe is available at PreenFM github.
https://github.com/Ixox/preenfm2/releases
“pfm2_Eurorack_2.09a.zip”